


In resin work for crafting, repair work, or DIY projects, questions often arise regarding its versatility and durability. One common question is: Can resin be glued together? This guide will examine the answer in great depth, assessing practical tips and insights, as well as the best techniques for bonding resin successfully. Whether you are an expert crafter or just laying the foundation, this article will equip you with the necessary information to approach any gluing challenge with confidence. Continue reading to discover techniques and tools that ensure strong and durable resin projects.
Understanding Resin Properties
Resins come in a large variety, with epoxy, polyester, and ultraviolet resin being some common ones. When uncured, resins are viscous liquids with divergent properties, whereas when cured, they tend to be strong, extremely lightweight, and waterproof. They can also become brittle and prone to surface imperfections if not appropriately handled. The resin pieces would need to have their surfaces prepared adequately for bonding, ensuring they are smooth and non-porous, as even sanding can aid in forming a superior bond with the adhesive. Using an adhesive specifically designed for resin or a compatible epoxy adhesive will yield the best results.
What is Resin?
Resin is one of many materials having a diverse nature and is generally distinguished as being synthetic or plant-based. The versatility of resin makes it invaluable in industries such as art, manufacturing, construction, and jewelry-making: it hardens to form a solid mass that is durable. Synthetic resins, including polyepoxy, polyester, and polyurethane, are widely used as they can be modified to impart properties such as strength, flexibility, or chemical resistance. By contrast, natural resins are substances secreted by plants, such as tree sap, and have been used for centuries in varnishes, adhesives, and similar applications. Modern resins are lightweight and versatile, hence in demand for everything from high-precision molds to artistic works.
Key Characteristics of Resin
The natural resins and the synthetic would possess definite listed features that would be considered for versatility. This includes their resistance to wear and the environment. They stick well, hence used in adhesives and coatings. Synthetic resins can be tailored to specific properties, such as heat resistance, UV stability, or chemical inertness, making them suitable for use in various industries, including construction and electronics. Resins are adaptable in taking multiple forms, ranging from hard solids to flexible films—this combination of strength, flexibility, and customizability cements resin as a vital material in multiple fields.
Why Bonding Resin is Challenging
Due to its unique chemical and physical properties, bonding resin does pose particular challenges. One of the most significant challenges is that no one resin bonds to all substrates. The resin requires some form of surface preparation to ensure compatibility and prevent a weak bond from forming. Other variables, such as curing time, temperature, and humidity, also influence the bonding process. For instance, if the resin is not fully cured, a reduction in bond strength may occur due to incomplete polymerization. Another issue is that during the curing process, volatile organic compounds (VOCs) might be emitted, causing health and environmental hazards. Yet another problem is that, with the wide range of resin types, bondability differs markedly according to the resin formulations and application conditions. Thus, each use requires a specific solution.
Common Reasons for Bonding Resin
Commercially, there are adhesives with excellent holding properties, such as resin, hence being called bonding resins. This makes it suitable for bonding materials such as wood, metal, plastic, and ceramic. Some primary reasons for bonding resins could be:
Durability
Being able to hold the materials together under various conditions for an extended period.
Flexibility
A medium that can adapt to various materials and their surfaces.
Resistance
Offers excellent resistance to heat, chemicals, and moisture, making it suitable for harsh environments.
Aesthetic Finish
Gives a smooth and seamless finish if applied correctly.
Repairs of Resin Pieces
Repairing resin pieces demands close attention to detail to restore the item’s structural integrity and appearance. Begin by cleaning the damaged area with a mild solvent to remove any dirt, dust, or oils that may prevent adhesion. For cracks or chips, a two-part epoxy resin is typically recommended as the best repair method, as it is very durable and seamless. Mix the resin as indicated by the manufacturer and apply it liberally to the damaged area using a small applicator or brush. The resin is then left to cure, a process that varies from a couple of hours to several days, depending on the specific product used. Once cured, gently sand the patched area using fine-grit sandpaper until smooth, then polish for a fine finish. Using proper techniques and tools, it is possible to restore resin pieces to their original condition, making them both functional and visually pleasing.
Crafting and Assembling Resin Pieces
Resin artistry involves precision and patience to bring high-standard results. Selecting a clear, bubble-free resin tailored to the project’s specific needs is the first step. It can be jewelry, art, or merely functional. Once the resin and hardener are carefully mixed in the precise ratio specified by the manufacturer to ensure complete curing and hardness, they are poured into neat molds. Such molds may be made of silicone for ease of release. The resin can be mixed with glitter or pigments to complete the design in the mold.
Ensure that the resin cures in a dust-free environment with zero temperature fluctuations from the moment it is poured. Dust or temperature fluctuations could damage the fine finish of the object. When bonding multiple resin objects together or setting additional layers of resin, do so only after the resin has cured. Glue the components together using a powerful adhesive. With proper preparation and best practices in place, you can create stunning, durable pieces that align perfectly with your vision.
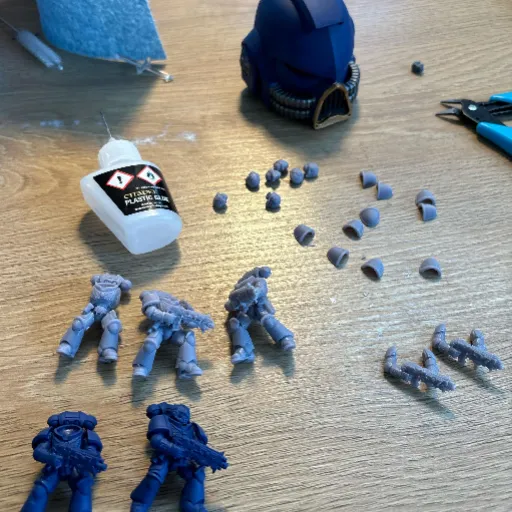
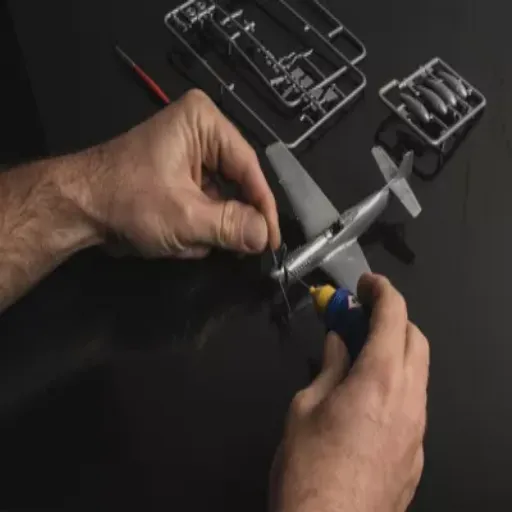
Prototyping and Models with Resin
The beauty of resin lies in its versatility and capacity to capture minute details, making it one of the preferred materials when creating prototypes and intricate models. Producers work in product design, architecture, and scale modeling, where the use of resin helps them build exact and durable models. The mold is filled with liquid resin and left to harden over time, thus forming the exact shape needed. The added benefit of resin prototypes is that they can be sanded, painted, and polished to achieve an elegant and professional look. Thus, resin is chosen for testing designs based on their visual appeal or functional application.
Types of Adhesives Suitable for Resin
Super Glue for Quick Repairs
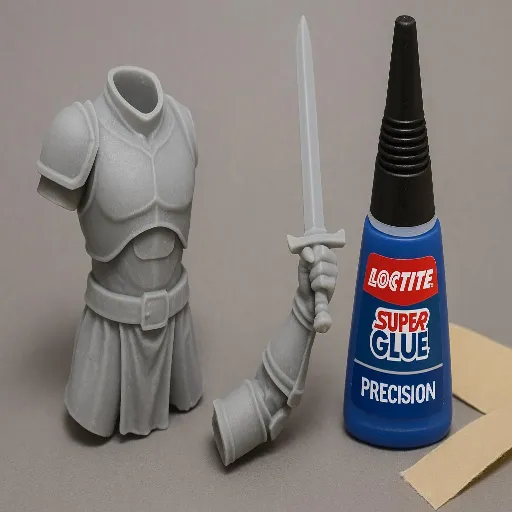
Also known as cyanoacrylate adhesive, super glue settles quickly and is suitable for repairs. It works well on many surfaces, including resin, and is ideal for those minor repairs that require immediate adhesion. When applying super glue to carpenter’s resin, use only a minute amount and hold the pieces firmly together for a few seconds. However, consider that super glue may not be the best option for your project if it requires flexibility or exposure to water, as the bonds will become brittle over time. In other words, consider the resin project requirements if your PIN requires extensive surface work.
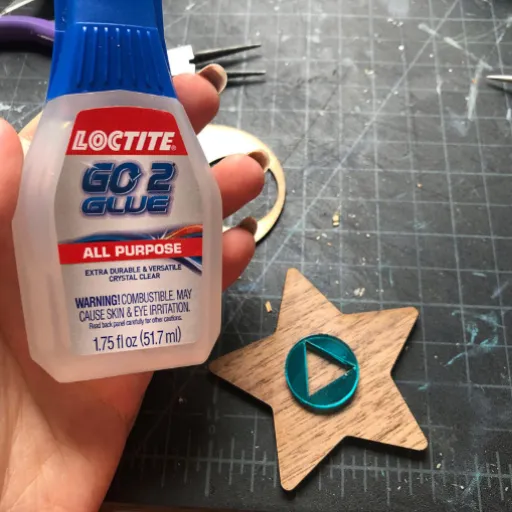
Two-Part Epoxy for Strong Bonds
A two-part epoxy, which receives significant praise for its strength and durability, especially in resin repairs, is a type of adhesive. These two-part adhesives consist simply of a resin and a hardener, which, when mixed, go through a chemical reaction to create a strong, lasting bond. Able to work under heavy stress and waterproof, this adhesive is resistant to temperature changes, making it the ideal choice. When applying a two-part epoxy, the surfaces must be clean, dry, and free from contaminants. Then, mixing the glue in the required ratio, it is applied to the surfaces and left to cure according to the instructions. It is particularly common in heavy applications where the lightweight adhesives might come undone.
Specialized Resin Adhesives and UV Resin
Adhesives, including UV resin types, are meant for precision and efficiency in several applications. UV resin, upon exposure to UV light for curing, is best suited for situations requiring finer details, such as jewelry making, electronics, or dental techniques. It retains a glistening finish with high transparency and durability, qualities that encourage professional work. Unlike traditional adhesive resins, UV resin eliminates the need for lengthy cures, mold surface washing, and component mixing, thereby speeding up the process. One main drawback of UV resin is that it requires UV light to cure, so a potential user should consider this when making their choice of adhesive. These cutting-edge materials have helped demonstrate that adhesives are being developed to meet the specialized and rapidly evolving needs of various industries.
Step-by-Step Guide to Gluing Resin Pieces Together

Complete Process Overview
Follow these carefully structured steps to ensure professional results when bonding resin pieces together. Each step is crucial for achieving a strong, lasting bond.
-
Step 1: Prepare Your Workspace
Ensure that your workspace is clean, well-lit, and well-ventilated. Use a protective surface, such as wax paper or a silicone mat, to prevent potential messes.
-
Step 2: Clean the Resin Pieces
These surfaces must be wiped with isopropyl alcohol to remove dust, oil, or any other contaminants that could compromise a strong bond.
-
Step 3: Sand the Edges (if needed)
Sand edges very gently using fine-grit sandpaper on resin pieces for better adhesion. After sanding, wipe off any residue with a clean cloth.
-
Step 4: Apply the Resin Adhesive
Apply a minimal amount of UV resin or adhesive evenly along the edge of one resin piece. Using too much resin will lead to overflow.
-
Step 5: Join the Pieces
Carefully line up the resin pieces and press them together firmly. Hold for a few moments to keep them in alignment.
-
Step 6: Cure with UV Light (if using UV Resin)
Place them under UV light and cure as per the adhesive’s instructions; this usually takes a couple of minutes.
-
Step 7: Check the Bond
Allow the pieces to sit and cure. Then, gently test the bond to ensure the pieces are securely attached with an adequate bond. Additional adhesive can be added and cured again if required.
-
Step 8: Finish the Edges
Sand or polish the glued area if needed for a smooth and seamless finish.
Preparation of Resin Surfaces
Cleanliness and texture of resin surfaces must be ensured before bonding or further finishing. In cleaning, the resin surfaces should be thoroughly agitated with isopropyl alcohol to remove grease, dust, and any other contaminants that would inhibit adhesion. Sand the surface lightly to achieve a slightly rough texture using fine-grit sandpaper (e.g., 220-400 grit). This texture helps adhesives or coatings adhere more effectively. Once sanded, wipe off any dust with a clean, dry cloth and make sure the surface is dry before applying any adhesives or other treatments. Well-prepared resin surfaces assure an attractive finish and good longevity.
Application of Adhesive
When adhesive bonding to resin surfaces, it is essential to select an adhesive that is specifically tailored to a particular project. Epoxy adhesives are by far the most recommended for resin materials because of their strong bond and compatibility with plastics. To start, dispense the required quantity of adhesive, keeping in mind that most epoxies require a specific mixture of resin and hardener. Apply the adhesive evenly to the prepared surface using a clean, small-sized brush or applicator. Do not apply too much glue; a thin layer would actually provide a better bond. Align the materials carefully and clamp them, or place weights on them, to maintain pressure on the adhesive while it cures. Curing time varies depending on the adhesive, so always consult the manufacturer’s instructions. Correct use of adhesive gives strength and assures durability to bonded parts.
Curing and Finishing Touches
The longer an adhesive takes to cure, the stronger and more durable will be the bonding force. So, never set a bonding process to work for too little time. During the curing time, ensure that the materials being bonded are kept undisturbed and under pressure. The temperature and humidity may affect curing times, depending on the type of adhesive used. Therefore, always consult the manufacturer’s instructions.
Afterward, when the adhesive has completely cured, examine the bond for any excess residue. Gently remove all traces of dried adhesive with a scraper or solvent, taking care not to damage the surface of the materials to be bonded. Moreover, test the bond strength to verify compliance with performance standards. Proper finishing action will enhance the bond’s functionality and appearance.
Expert Tips for Achieving Strong Bonds
Clean the Surfaces Thoroughly
Anything that can contaminate the surface, such as dirt, grease, or dust, will weaken the adhesion power and ultimately result in a poor bond. Make sure the surfaces are clean and dry before applying the adhesive.
Use the Right Adhesive
Select adhesives that are compatible with the materials being joined and suitable for the respective application. Follow the manufacturer’s recommendations.
Apply Adhesive Evenly
Spread the adhesive lubricant uniformly over the bonding surface to avoid weak spots. Maintain the recommended thickness for best adhesion.
Provide Proper Curing Time
Keep materials undisturbed and free from stress during the time specified by the manufacturer for the adhesive to cure.
Maintain the Right Environment
Environmental factors, such as temperature and humidity, can alter adhesive performance; therefore, it must be adjusted to the recommended conditions for effective joining.
Test the Bond
Once the items are fully cured, test the strength of the bond to ensure it meets your desired criteria. Make adjustments if necessary, and consider restoring or repairing the items before using them.
Follow Manufacturer’s Instructions
Following the manufacturer’s instructions will ensure the best results in adhesive or any other products. According to the latest data from the search engine, one of the most frequently asked questions is: What should be done if, after curing, the adhesive fails to join the surfaces? The answer lies in carefully reviewing the application process.
Ensure that the surfaces were adequately cleaned, that the adhesives were applied correctly in terms of weight or quantity, and that sufficient time for curing had elapsed. Temperature and humidity values during application may also need to be reviewed if they correlate with the product’s instruction sheet. If the failure persists, you may want to consider contacting the manufacturer for support or selecting an alternative product that better suits your specific needs. Follow the product’s instructions and any accompanying literature for optimal results.
Test Adhesive on Small Areas
On small areas, test the adhesive to verify its compatibility and effectiveness before applying it fully. Select a rather inconspicuous spot on the surface that you intend to bond. Apply a small amount of adhesive here and let it cure completely, following the manufacturer’s instructions. Inquire as to the strength of the particular bond, the quality of adhesion, and whether any discoloration or damage to the surface occurred. The precautionary step will avert any large-scale failures and ensure confidence in the suitability of the adhesive for your project.
Use Clamps for Tight Bonds
Clamping is a crucial step in making an adhesive stronger and more permanent, depending on the method of application. Using the proper clamps, the materials should be held firmly in place while the bond cures. The parallel pressure from the clamps causes the adhesive to be spread over. It also eliminates any extra air or gaps between surfaces that otherwise may facilitate incomplete bonding. Follow the manufacturer’s recommendations on clamping time, which vary depending on the type of adhesive and the materials being joined. Upon curing, take out the clamps with utmost care, and you will have a sturdier, professional-quality connection.
Proper Storage of Adhesives
Adhesives are best stored in cool, dry places; warm weather and direct sunlight are detrimental to an adhesive. Once you have finished using it, ensure the container is tightly closed to prevent the adhesive from drying out or becoming contaminated. Additionally, I check the storage instructions provided by the manufacturer, as some adhesives may require special care to remain in an effective condition.
Reference Sources
The following three are professional and authoritative reference sources to verify and support your article on “Can You Glue Resin Together?” These are academic or research attesting to its credibility:
-
Water-Resistant Glues Suitable for Industrial Arts Shops
Source: Oklahoma State University Open Research
-
A Comparison of the Properties and Strengths of Adhesives
Source: ScholarWorks at University of Northern Iowa
-
An Investigation and Research Regarding the Adhesive Qualities of Epoxy Resins in Architectural Construction
Source: Kansas State University Research Exchange


