


PLA, which is one of the most widely accepted 3D printing materials, is very easy to use and very strong at the same time. Does the proper adhesive help in the bonding technique at all? Still, It is really hard to tell which one works best without trying all of them? It’s inevitable to use glue that works with PLA when repairing broken prints or making complex designs or just playing with your imagination! This guide is all about the best adhesives that can work for PLA, especially the Gorilla Glue products, so you are not going to be confused with your decision. First, different kinds of glues will be compared alongside their advantages and disadvantages. Secondly, tips will be given on how to bond seamlessly and professionally. Continue reading to learn about tools and methods that will multiply the results of your PLA projects!
Introduction to Bonding PLA
Understanding PLA and Its Properties
Polylactic Acid (PLA) is one of the most widely used thermoplastics in 3D printing due to its user-friendly and environment-friendly properties. It is a non-toxic, biodegradable, and compostable material produced from renewable sources such as corn or sugarcane, thus it is a sustainable material. PLA is very suitable for beginners and hobbyists because of the low melting temperature compared to other 3D printing materials. However, the low melting point also means that it is not very heat-resistant and it is not suitable for high-temperature applications.
In terms of bonding, PLA has certain disadvantages as it is a non-porous and smooth material, and that makes it harder for the adhesive to form a strong bond. Also, being somewhat brittle, PLA restricts the forces it can withstand when glued. Proper preparation and skill, therefore, become crucial for getting strong and effective bonds between parts. Surface treatment like sanding the area lightly or wiping it down can increase adhesion by a great deal.
The unique combination of strong yet brittle characteristics of PLA makes it most suitable in situations where the priorities are durability and environmental sustainability. Knowing its properties helps you pick the right adhesive and the right ways so that the results appear professional. By recognizing its pros and cons, you not only ensure aesthetically pleasing and functional outcomes of your projects but also gain the full potential of PLA.
The Importance of Choosing the Right Glue
Choosing the right glue is one of the key factors that define the success of a project involving PLA. PLA, or polylactic acid, is a material that has special properties and thus requires an adhesive specifically tailored to its characteristics. An incorrect adhesive can lead to weak joints, poor durability, or even material damage. Therefore, the selection of glue that is specifically meant for PLA guarantees the making of strong bonds and the getting of results that last long.
Plastics or thermoplastic glues are usually the most effective ones to use when dealing with PLA. Among the most common choices are cyanoacrylate adhesives (super glue), which can give a quick and tight bond on PLA surfaces; and epoxy-based adhesives, which provide the combination of strong adhesion and resistance to environmental factors like temperature and moisture. Using adhesives that are easy to apply also saves time and effort in the assembly process.
Exactly how preparation is done will also determine the eventual bonding’s strength. Always clean and dry the PLA surfaces to get rid of any debris, dust, or fingerprints that could impede the adhesive’s performance. For difficult applications, treating the PLA surface with gentle sanding can increase the adhesive grip. By spending time on choosing the right glue and preparing your materials properly, you can give your projects a professional and durable finish like that of a craftsmen.
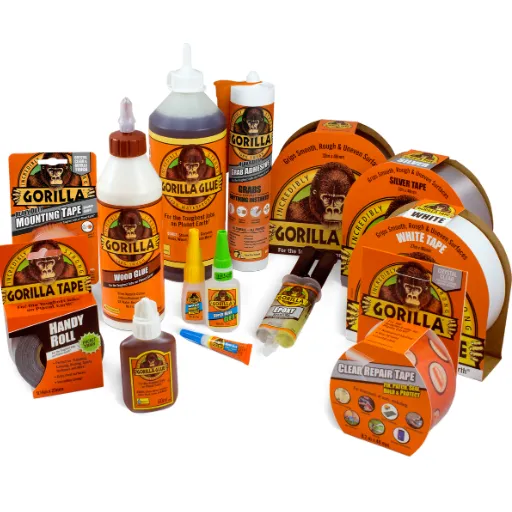
Types of Gorilla Glue for PLA
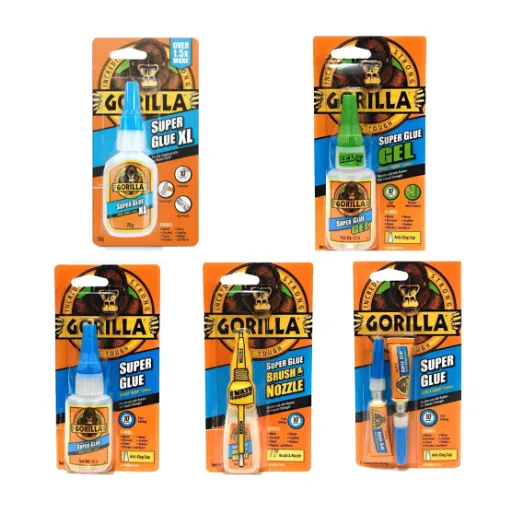
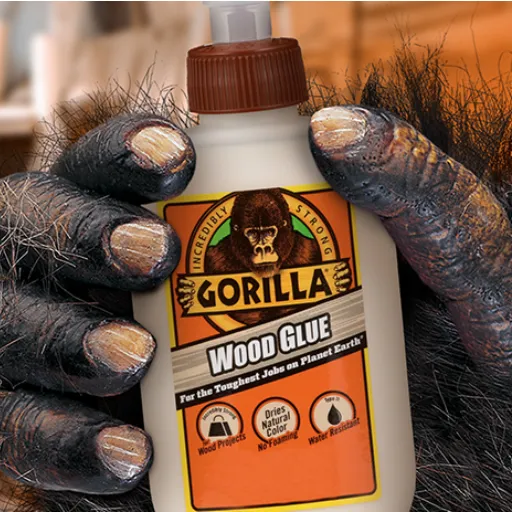
Gorilla Super Glue
Gorilla Super Glue is an excellent adhesive for combining PLA materials. It creates a strong and fast bond which makes it suitable for tiny or intricate projects. Gluing takes place almost immediately, quite often in a matter of minutes, and during the process, no clamping is needed, thus making workflow easier and cutting down on waiting time.
To apply Gorilla Super Glue on PLA, the first thing to do is to clean the surfaces and to remove any contaminants such as dust or grease. Apply a thin layer of glue on one of the surfaces and distribute it evenly. Press the elements together forcefully and keep them stationary for a minimum of 10-30 seconds so that a strong initial bond is formed. The glue will take up to 24 hours to completely cure, but by then the joined pieces will have great durability and strength.
The adhesive is suitable for many different kinds of PLA applications, but it might not be the best choice for areas subjected to heavy stress or weight. For optimum results, glue up together with proper surface preparation i.e. sanding roughened edges and using minimal adhesive quantities to prevent overflow will make a neat professional finish to your project.
Gorilla Epoxy
Gorilla Epoxy is a multipurpose adhesive that is capable of making strong and long-lasting connections between different kinds of surfaces. It has a very good performance on metals, woods, ceramics, glasses, and certain types of plastics, which is why it has become a go-to option for all kinds of repair and building activities. The adhesive is a two-part epoxy system consisting of resin and hardener that must be combined in order to set off the bonding process. It can be said that mixing and applying it within working time give a strong bond that lasts a long time.
On the one hand, Gorilla Epoxy is a versatile adhesive and at the same time, its preparation is the secret weapon to getting the best results. Make sure that the surfaces you want to bond are clean, dry and have no grease or dust on them. Sanding the surfaces just a little can boost the adhesion of the epoxy since it will have more area to grip. Mix the resin and hardener with the exact proportions as prescribed by the manufacturer; otherwise, it will influence the strength and curing time. Spread the mixture uniformly on one of the surfaces and firmly press the pieces together until the glue has set.
Gorilla Epoxy earns its reputation mainly for being very strong and resistant to water, which makes it fit for both indoor and outdoor uses. Nevertheless, it might not be the most suitable choice when dealing with flexible materials or in areas that are subjected to heavy mechanical movement since epoxy adhesives can become fragile under certain conditions. To get the best results, allow the glue enough time to harden. Generally, this period includes around 24 hours, before using the materials that have been bonded. Always make it a rule to firstly protect yourself by being in an area with good air circulation and by wearing gloves so as to prevent skin contact.
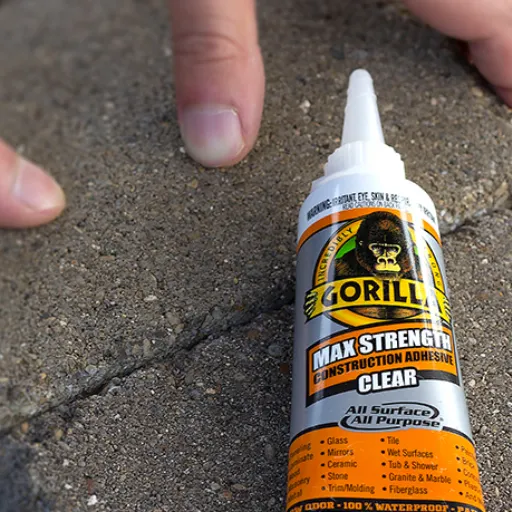
Gorilla Construction Adhesive
Gorilla Construction Adhesive is an all-around and tough product that is specifically intended for extreme bonding needs. It holds up very well on different materials such as wood, metal, ceramic, and concrete, thus, it is suitable for both indoor and outdoor projects. This adhesive has become popular because of its strong grip and enduring hold, which provide reliable outcomes in construction and repair activities.
High weather resistance is one of the primary features of this adhesive. It is capable of enduring the unfriendly conditions in the environment which entails moisture, heat, and cold thus it becomes the best choice for projects that are going to be exposed to such changing conditions. Furthermore, the adhesive is developed in such a way that it is going to be flexible with time thus bonding will still be strong even in places that are prone to movement or vibration.
If you want to get the best out of it, you need to apply it correctly. The surfaces that are going to be joined together must be free from dirt, dry, and clean before the glue is applied. Once the glue has been applied it is best to press the two parts together firmly and then allow for curing which is usually about 24 hours so that the bond can set completely. If you follow these instructions, you will get a very strong and long-lasting bond for your work.
Preparing PLA for Bonding

Cleaning the Surfaces
The most important and first step in preparing the PLA surfaces for bonding is making sure that they are clean. Dust, grease, or any residue that might be left on the surfaces can all contribute to a weak bond and thus affect the quality of the final product. Start the cleaning process by using a clean, lint-free cloth to remove dirt and other particles that are not firmly attached to the surface.
Then gently use isopropyl alcohol or warm soapy water for cleaning the surface if it is contaminated with oil or grease. Make use of a soft cloth or sponge so that you don’t scratch the material. If you think rinsing is necessary after cleaning, do so and then let the surfaces dry completely before any adhesive is applied. Drying properly ensures that water won’t be a barrier during the bonding process.
Then, check the surfaces for imperfections like rough edges or uneven parts that could prevent a smooth fit. If necessary, use fine-grit sandpaper to lightly sand the areas to be bonded in order to create a uniform surface and increase the grip of the adhesive. Remove the dust created from sanding before moving on. All these steps you take are setting the groundwork for a bond that is both secure and long-lasting.
Sanding for Better Adhesion
Sanding is one of the methods which best surface preparation that facilitate adhesion. It does so by roughening the surface thereby creating a very good grip for the adhesive. Smooth surfaces may even lead to the adhesion’s strength being lowered more because the adhesives may not be able to penetrate or adhere properly and uniformly. However, if you sand the surface of the material, you will make it rough and therefore increase the chances of the adhesive sticking to it, thus a more reliable bond.
For the best result, use fine-grit sandpaper, like the 120 to 220-grit range for instance, depending on what material you work with. Sand lightly in a consistent direction on the bonding areas, doing it moderately because too much sanding could harm the material. After you finish sanding, the next and very important step is to remove the dust and debris by wiping with a clean and dry cloth or tack cloth. This helps to ensure that there are no particles that can prevent the adhesive from getting a good grip.
Aside from that, always remember that bond success largely depends on appropriate surface preparation, sanding included. No matter if you are dealing with wood, plastic or metal, good sanding will increase your chances of getting a strong bond and thus, a durable and long lasting result. So, to makesure that you have a project that is both strong and good looking, take your time, and do it right!
Ensuring Proper Fitment of Parts
The proper fitment of parts is very important for the success and longevity of any project. Correctly fit the parts, and it is necessary to measure very well, cutting, joining, and assembling the materials. Measuring tapes, calipers, and rulers are some of the precise tools one can use to get consistency and to keep away from inaccuracies that can lead to misalignment and loss of strength in the structure.
One very good way of confirming and fixing the parts first is to do dry-fitting instead of using adhesives or fasteners. In this phase, you can look for gaps, misalignments, or uneven edges. If changes are necessary, they can be done more easily at this time without risking destruction of the materials or weakening the glueing.
Moreover, consider the change in environment as one of the issues too. The temperature and humidity increase or decrease can affect the wood, for example, by making it bigger or smaller. It is best to be taking these fluctuations into account throughout the fitting process since this helps to keep both stability and strength of the structure and at the same time prevents warping or quick deterioration in the future.
Application Techniques for Gorilla Glue on PLA
Using Gorilla Super Glue Effectively
If Gorilla Super Glue is used on PLA, the method becomes very easy and efficient given the correct sequence of steps. The very first thing to do is to clean the surface of PLA really well to get rid of all the dust, oil, and other residues. A clean surface not only makes the bonding stronger but also ensures long life of the bond. If possible, gently sand the areas that are going to be glued; this will make the surface a little rougher and thus increase the adhesion.
Put a tiny dot of glue on one of the surfaces. Be cautious with the glue application as it is a trap that will lead to, besides uneven bonding, the mess you would want to avoid. Almost immediately, push the parts together and then keep them there firmly for no less than 30 seconds. This rapid response triggers the glue and sets the stage for the bonding process. Make sure there is no movement during this time as it can cause weak spots.
Let the joined part cure completely according to directions, normally for 24 hours. Don’t put any stress or handle the glued area during this time so as to get maximum strength. When stored properly and kept well, the glue will bond strongly on PLA and will be able to take on moderate stress and strain. By following these steps you will be able to build a strong and trustworthy joint on your PLA projects easily.
Applying Gorilla Epoxy for Strong Bonds
Gorilla Epoxy is a very good and strong adhesive that is very useful for plastic and several other materials as it makes very strong and durable joints. The two-part epoxy is made up of a resin and a hardener that must be mixed in equal amounts in order to activate its bonding capability. When you want to apply Gorilla Epoxy, the first step is to prepare the surfaces that you want to bond. Clean the surfaces very well so that no dirt, grease, or debris will be left that can act as an obstacle to adhesion. Moreover, if you lightly sand the smooth surfaces, the epoxy will have a better grip.
After the area is prepared, take equal parts of resin and hardener and put them on the clean surface or mixing tray. It is important to mix the two components thoroughly for about 20 seconds using the provided spatula or a small stick until the mixture changes uniformly in color. After the mixing, you get about 5 minutes of working time before the epoxy starts to set. Make an even application of the mixture with the use of a precision tool for tight spaces. Then, put the surfaces together and press them firmly to make sure there is good contact.
If you want to get the best results, let the cured area be the best it can be. Gorilla Epoxy takes about 24 hours to achieve the strongest bond. During this period, do not move or put a stress on the joint, as handling the bond too soon can make it weaker. On the other hand, it is true that Gorilla Epoxy is water-resistant and can resist the situations of moderate moisture and temperature changes, thus being perfect for both indoor and outdoor applications.
According to the latest information, Gorilla Epoxy provides a maximum shear strength of 3300 PSI, which means it can easily hold under pressure. This is what makes it a very effective option for gluing and bonding materials that are very diverse, like plastics, wood, ceramics, or metals. The results with Gorilla Epoxy will be strong and forever lasting, even in the case of harsh applications, given the right application.
Best Practices for Gorilla Construction Adhesive
Gorilla Construction Adhesive best practices have to be followed to get Gorilla Construction Adhesive to work at best:
- Surface Preparation: Clean up all surfaces to be attached and make sure they are dry and free from grease, oil, or dust. Surface cleaning is the main key to getting a good adhesion. Use a degreaser or rubbing alcohol to get rid of any impurities.
- Application Temperature: Using Gorilla Construction Adhesive at a temperature between 40°F and 100°F will give the best results. Using the adhesive at too low or too high temperatures can delay curing time and weaken the bond.
- Use the Right Amount: Only the required amount of the adhesive should be applied to the surface. If too much is used, it will not only be messy but also wasteful. A bead that is around a quarter inch (6–7 mm) wide is usually enough for most applications.
- Spread and Clamp: Once the adhesive has been applied, bring the materials together and use a clamp or put heavy objects on top to hold the pieces together during the drying. This will give the surfaces maximum exposure to each other and in turn, help the glue get stronger.
- Cure Time: Gorilla Construction Adhesive usually has a bond strength of 24 hours. However, full-strength curing can take 2 to 3 days depending on the type of material, and the relative humidity and temperature. During this period, do not stress the bond.
- Waterproof and Weather Resistant: Gorilla Construction Adhesive which is 100% waterproof, can be used in places that are constantly moist or in applications where the product will be exposed to the outdoors. It also can withstand extreme weather, thus being usable in outdoor projects and repairs all year round.
- Load and Shear Strength: The tensile strength of Gorilla Construction Adhesive is more than 300 PSI, which is why it is used in various applications where the adhesive has to withstand high load. It is widely recommended for heavy-duty jobs such as adhesion of wall panels or attaching heavy items such as mirrors and boards in construction and home projects.
- Storage: After using the adhesive [tube], it is important to tightly seal the adhesive to avoid its drying out. Keep it in a cold and dry place so that it can be easily used afterward.
Users can get the best of Gorilla Construction Adhesive even under tough circumstances by following the above-mentioned practices. The manufacturer’s recommendations should always be consulted for the specific product details and application method.
Troubleshooting Common Issues
Poor Adhesion Problems
To begin with, if you are having issues with the construction adhesive not sticking properly, surface preparation should be the first thing to check. It is a necessity that the adhesives be applied on surfaces that are clean, dry, and dust-free for them to bond effectively. Clean the area where the application will be done of all grease, dirt, and other materials. Lightly sanding smooth surfaces for better grip of the adhesive can be a good option if done correctly.
Secondly, confirm that the adhesive has been applied the right way. Make sure that the layer is consistent and even and is of the same thickness as the recommended application method, whether it is bead or spread technique. Not enough adhesive or inappropriate use of the same can result in a weak bond. Also, check that you are working within the temperature and humidity ranges that have been recommended, as extreme conditions can cause a change in performance.
Finally, think about the curing time. It is very important for adhesives to have the time allotted for setting and curing properly. Do not stress the adhesive or the surfaces that have been glued together until the time specified for curing has elapsed. Consult the product instructions or contact the manufacturer if the problem continues for more help.
Handling of White Residue
The white residue that appears on different surfaces after the adhesive has been applied can be attributed to many factors, such as bad application, the environment, or the adhesive’s own chemical reactions.Most of the time, this residue is an indication of the presence of excess adhesive that has not yet been bonded or cured properly, thus leaving a visible layer behind. Moreover, if the adhesive was moist during curing, the white residue may come as a result of that.
To solve this problem, the first thing you can do is to wipe the dirty area very gently with a clean, wet cloth so that surface dust gets removed. If the residue is still there, you can use a cleaning solvent that is suitable for the adhesive type or refer to the product’s instructions for the safest and most effective way to get rid of it. Do a small test on a hidden area with the solvent first to ensure that it won’t hurt the surface.
Preventing white residue is typically as easy as following proper practices while applying adhesive. Apply just the right amount of adhesive to eliminate the need for excess adhesive, keep the environmental conditions (humidity and temperature) proper, and let the adhesive cure for the time specified in the manufacturer’s instructions. Not only will these actions prevent residue but also ensure the best quality adhesive.
Addressing Structural Weakness in Bonds
Bonds can suffer structural weakness for a number of reasons, including unfit surface preparation, improper adhesive application, or adverse environmental conditions. But to counteract such problems efficiently, it is absolutely necessary to determine the root cause first. Inspection of the places where bonding is done should be the first step then; their surface should be verified as clean, dry, and free from any contaminants like grease, dust, or moisture that might interfere with bonding. So, very thorough surface cleaning methods, for example, wiping the surface with a suitable solvent, are really important for a strong bond to be formed.
After that, go through and follow the manufacturer’s instructions about how to use the adhesive. A bond can be compromised in terms of strength because of uneven application, insufficient adhesive use, or exceeding its working time. The adhesive should be applied uniformly over the surface with respect to the amount suggested and the curing should be carried out within the allotted time. In addition, check if the adhesive that you picked is suitable for the materials and the environmental conditions that are prevailing, for example, temperature and moisture levels.
Last but not least, the design and stress distribution in the bonded structure should be taken into account. Strength can be reduced in the structure due to high-stress points or a lack of overlap in the bonding area. Changing the design of the joint to spread the stress out more or increasing the area of the joint can dramatically lengthen the life of the bond. Adhesive bonds have more than structural integrity and less than performance provided by a systematic approach with meticulous preparation, correct application, and intelligent design.
Frequently Asked Questions (FAQ)
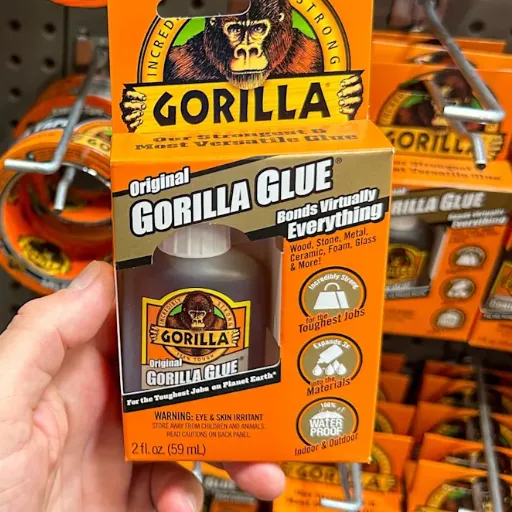
Q: Does Gorilla Glue work on PLA?
A: Gorilla Glue is compatible with PLA, but bear in mind that its strength may not be that of the best adhesive. The suggested method for obtaining optimum results is to use a little bit of glue and let it dry thoroughly.
Q: What is the best glue for PLA parts?
A: The choice of the best glue for PLA parts usually revolves around super glues such as Gorilla Super Glue Gel and cyanoacrylate (CA) glue. These types of glues deliver a strong connection and are suitable for 3D printed parts, thus ensuring their unification.
Q: Can I use clear Gorilla Glue on PLA filament?
A: Sure, you can clear Gorilla Glue on PLA filament. Nonetheless, be careful about the quantity of glue, as its excessive application can impair both the visual and mechanical aspects of the joined parts.
Q: How do I glue PLA parts together?
A: To join the PLA parts, first clean their surfaces, then apply a tiny amount of the selected adhesive, e.g. glue or superglue, and press the parts together. Finally, allow it to dry completely to get a strong bond.
Q: What happens if I use too much glue on PLA pieces?
A: Excessive glue on PLA parts could lead to a messy look and a weak joint. It is smarter to apply only a little glue and to make sure it spreads over the required area without excess.
Q: Is plastic welding effective for PLA parts?
A: The use of plastic welding on PLA parts can be effective especially when applying solvent-based adhesives. This technique is capable of producing a strong, lasting bond through the combination of melting and joining the surfaces.
Q: Can Gorilla Glue be used on standard PLA prints?
A: Certainly, the use of Gorilla Glue is allowed on standard PLA prints. However, it is sometimes better to select the proper adhesive based on the exact needs of your 3D printing projects when looking for the best results.
Q: How long does Gorilla Glue take to dry on PLA?
A: The drying period of Gorilla Glue applied to PLA is not the same for all cases, but usually, it takes some hours to complete the curing process. Round off the time set for drying to allow for the best bond strength.
Q: What should I consider when choosing the right adhesive for PLA?
A: Apart from the type of bond required, the part sizes and the choice between using solvent-based or standard adhesive are the main factors that should be considered while selecting the right adhesive for PLA. Super glues and CA glue are often the ones of choice for small components.
Q: Can I use acetone to bond PLA pieces?
A: Acetone does not work well for bonding PLA pieces as it has a poor bonding capability with this particular type of plastic. Instead, you would be better off with super glue or Gorilla Glue, which are standard adhesives for adhesion of PLA parts.
References
- Is gorilla glue good for PLA? (Reddit) – A discussion on the effectiveness of Gorilla Glue for PLA in the 3D printing community.
- There ain’t no glue for PLA – MakerWorld – Insights on using Clear Gorilla Glue for bonding PLA.
- What Is The Best Glue For Plastic? (Gorilla Glue Official) – Official recommendations from Gorilla Glue on its compatibility with various plastics.
- Which Glue for PLA? – General Discussions – A forum discussion on the best adhesives for PLA, including Gorilla Glue.
- PLA Gloop! 120ml (4oz) – A specialized adhesive for PLA, providing an alternative to Gorilla Glue.


