


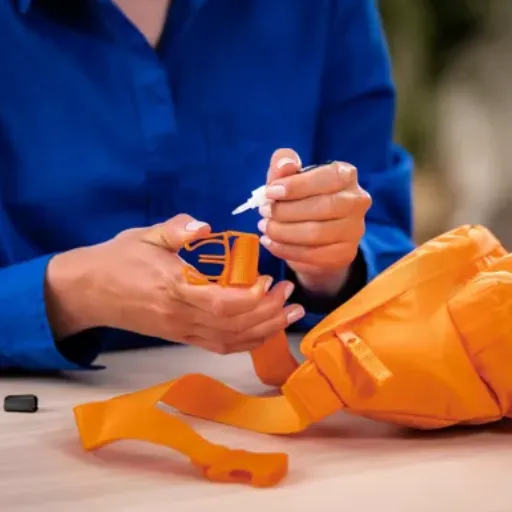
When fabric is coupled with plastic, arts and crafts and DIY projects acquire limitless creative avenues. This one barrier that is tangible stands in the way of having an adhesive that assures strong, durable bonding between the two very different materials. So whether it is upholstery, crafter touches on a plastic surface, or the repair of ordinary items, the choice of adhesive will guarantee the perfect and lasting finish. In this guide, we review the best adhesives, their pros, and all application tips, making you work on your next project confidently. Let’s begin.
Understanding the Basics of Glue for Fabric to Plastic
? What Makes a Good Adhesive?
Adhesives designed to bond fabric to plastic must provide certain properties to establish a strong, long-lasting, and secure bond. Most importantly, it needs to have enough flexibility to withstand the natural movement and texture of fabric. At the same time, it must also adhere well to the relatively smooth and usually non-porous surface of plastic. This duality ensures that both materials stay well bonded over time while undergoing various situations.
The other is the relationship of durability. The bonding agent must endure the influences of weather, such as temperature changes or moisture, and fade due to UV rays, from happening to weaken the bond. Were one bonded to plastic fabric in the external climate and destined to get frequent exposure and wears, that other consideration would mature to be quite important. Another example of usage would be if the project went outdoors and get wear and dry fast enough to be used right after application.
Finally, the ease of use of an adhesive greatly influences the quality of the product itself. It should be a kind of adhesive that one is able to apply evenly on surfaces so it can be cleaned up easily in case of errors and achieve a neat presentation. At least, safe to use meaning it should be non-toxic in case the project would involve frequent human use or contact. This balance of three attributes—strength, durability, and a friendly interface—ensures that the connection of fabric to plastic fulfills both the functional and aesthetic merit of the project in an overarching way.
✓ Choosing the Right Glue for Your Project
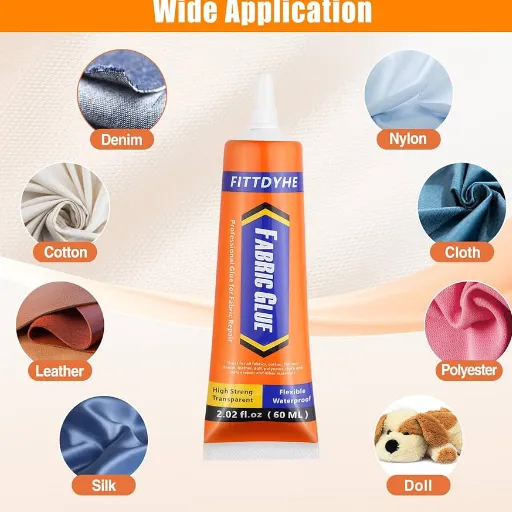
If you are selecting the right glue for working with fabric and plastic, you must first understand their peculiar requirements and intended uses. Make sure to choose a glue that will work well on both surfaces to ensure the adhesion is strong enough and lasts well over time. Confirm also that it is a multipurpose adhesive, designed especially for flexible, porous materials such as fabric, and non-porous surfaces such as plastic.
Another factor to consider in this gluing is durability. In any case, if it is to be subjected to frequent handling, exposure to water or temperature changes, glue must remain resilient to these conditions. Be sure that the glue is water-resistant or keeps a good hold while temperature changes, so your project will not give up from structural integrity.
Then, it’s better to select a glue that is easy to use, and safe to handle. Choose a non-toxic glue for an adhesive substance that gets into regular human contact, especially if children are involved. It shall be great if the glue went on smoothly and dried clear so as not to attract the eye away from your project. Take into account these considerations, and you will be able to choose the glue with confidence and get the well-finished project.
Best Glue for Attaching Fabric to Plastic
Overview of the Top Products
In choosing a glue for attaching fabric to plastic, it should be a glue that ensures a strong bond but also one that is user-friendly. Ideally, these adhesives are meant for bonding incompatible surfaces such as porous type fabric with non-porous type plastic. Also of importance is a glue that dries flexibly, thereby taking away the forces which may otherwise act on the bond during and after application.
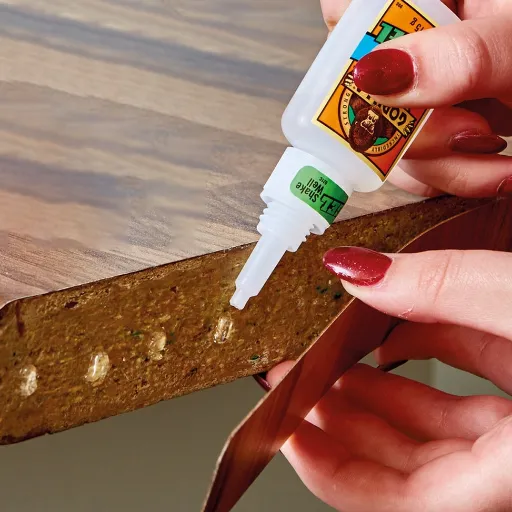
★ Gorilla Glue: Features and Benefits
This shall remain the Gorilla Glue for its ultra-strength and ability to adapt to anything-it works on wood, metal, ceramic, cloth, plastic, and whatnot. It forms a super-strength bond that retains its permanence and serves durability and attraction to either indoor or outdoor projects abundantly. Various and unforgiving conditions further ascertain its reliability in waterproof and ultra-violent temperature range resistance.
Key Benefits:
- Expands during curing for gap-filling
- Dries clear to slightly amber
- Multiple formulations available
- Waterproof and temperature resistant
The biggest commercial advantage of this product is its refurbishment-process wherein it expands during curing, filling adhesive gaps and creating powerful connections. Hence it dries clear-to-slightly-amber, depending on the type of adhesive used, in order to preserve the aesthetics of the project with an impeccable finish.
Comparison of Fabric Adhesives
Fabric adhesives prove especially useful when textiles need to be bonded rapidly and efficiently. When comparing our adhesives, the critical factors that tend to be weighed are drying time, strength, flexibility, and even the intended use. In all of these standard classifications of fabric adhesives, we find permanent adhesives with long-time restraining bonds, temporary adhesives with repositionable applications, and fusible adhesives activated merely with heat.
Application Techniques for Effective Bonding
Preparing Surfaces for Adhesion
It is essential to prepare surfaces properly for a strong and reliable adhesion. Start by ensuring that the surfaces to be bonded are clean and free of dust, grease, or any other contaminants. Dirt, grease, and dust hinder the inside of an adhesive from bearing properly; hence clean these with some mild detergent or rubbing alcohol. Once this cleaning process is complete, allow time for the surface to dry well.
Next, evaluate the surface texture. Some materials must be bonded with a slightly rough texture for a better “grip” of the adhesive. If the surface in question is too smooth, then sand it lightly with some fine-grit sandpaper to create the desired texture. Clean after sanding by wiping it down with a cloth to remove dust.
Finally, check if the surface and adhesive will be compatible with your working environment. Temperature and humidity may greatly affect adhesion. Make sure to work in a controlled environment under the optimal bonding conditions recommended by the adhesive manufacturer. Proper surface preparation helps improve the durability of the adhesive bond and its strength, translating into more successful results on your project.
Step-by-Step Guide to Attaching Fabric
Cut the Fabric to Size
Depending on the project, the fabric must be measured and clipped to the correct dimensions. Use a very sharp pair of fabric scissors to do any cutting; a neat edge will offer better adhesion.
Prepare the Surface
The surface on which the fabric is to be placed must be perfectly clean and dry, without any contaminants such as dust and grease. Should there be such contaminants, one may clean the surface using a gentle cleaner.
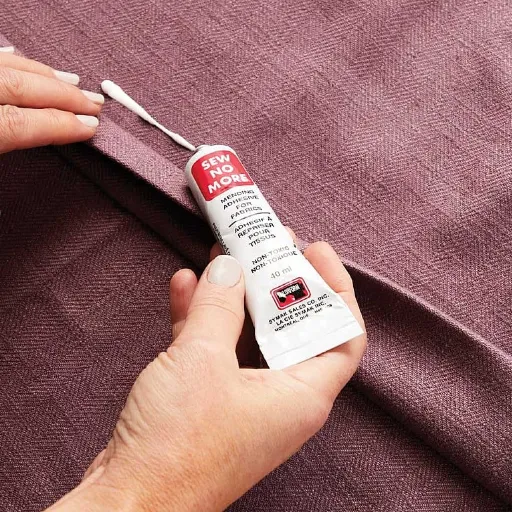
Apply the Adhesive
Choose a suitable adhesive for application, but do take care to ensure it is compatible with the fabric and surface materials. Based on the instructions from the adhesive, an even layer should be coated thinly.
Position the Fabric
Start placing the fabric onto the adhesive surface starting from one edge and work with the other hand to smooth it down, thereby avoiding air bubbles or wrinkles. Use light firm pressure.
Secure and Cure
Depending on the type of adhesive used, it may require using clamps or weights to secure the fabric in place as it cures. Do not remove until the suggested time period has lapsed.
When the above goes through methodically, all of the fabric crafting becomes neat and durable. Preparation and implementation are, therefore, guaranteed for that professional finish.
Expert Tips for a Strong Bond
🧽 Clean Surfaces Thoroughly
Before applying any adhesive, ensure both surfaces are free of dust, grease, or any debris. Cleaning the surfaces with a suitable solvent or mild soap and water improves adhesion by allowing the glue to adhere properly without interference. A clean surface is critical for creating a durable bond.
🎯 Select the Right Adhesive
Different adhesives cater to various materials and applications, so choosing the appropriate type is essential. For fabric crafting, flexible adhesives designed for textiles typically provide the best results. Always read the product label to confirm compatibility with your materials and the durability required.
⏱️ Apply Even Pressure During Curing
After applying adhesive, press the materials together evenly and use clamps or weights if necessary. Applying consistent pressure throughout the curing process helps the bond form evenly. Follow the curing time recommended by the adhesive manufacturer, as rushing this step can weaken the final bond.
By following these tips, you can ensure your fabric crafting projects are both professional and long-lasting.
Common Challenges and Solutions
⚠️ Dealing with Unwanted Residue
Problem:
Unwanted adhesive residue can be a nasty thing to deal with in any fabric construction.
Solution:
- Gently scrape off dried residue with a blunt object
- Apply rubbing alcohol or mild solvent with a clean cloth
- Test solvent on inconspicuous area first
- Wash thoroughly with warm water and detergent
🔧 What to Do if the Bond Fails
Common Causes:
- Improper surface preparation
- Too little adhesive applied
- Wrong adhesive type
Fix Steps:
- Assess the cause of failure
- Clean and prepare surfaces again
- Consider switching adhesive types
- Apply proper amount and cure time
✅ Ensuring a Permanent Bond
For permanent adhesion, in commencing preparation, always ensure the best surface preparation possible for the faces to be joined. The surfaces must be free of dust, grease, or any surface film that would contaminate the adhesion. Clean the surface with the necessary cleaner or even very mild abrasive to obtain the best surface for bonding. Surface preparation is an utmost prerequisite to ensuring the longevity of a bond.
Next, select the adhesive depending on the type of materials and the working conditions of the project. Bear in mind the type of materials, exposure conditions to environmental elements, and stresses the bond will support. Adhere precisely to the manufacturer’s recommendations for the method of application, the quantity of adhesive to be used, and the period set for curing. Ensuring proper alignment of the surfaces as well as pressing evenly all through the curing time will additionally help the adhesion to be more permanent.
Last but not least, inspect the bond as time goes by, more so, whenever environmental changes or heavy load stresses are at play. Periodic inspections will fill you in on early signs of weakenings and possibly address the problem before the situation worsens. Through the diligent execution of these steps, one can enjoy a truly reliable and permanent bonding, full functional for their specific application.
Quick Repairs and Flexible Solutions
⚡ Using Super Glue for Quick Fixes
Being the fastest adhesive in the world, super glue offers an efficient repair option and works well particularly for small objects or surfaces. Emergency situations require it to be an adhesive that hardens within seconds; the gluing agent almost instantly forms a strong bond of plastic, metal, wood, ceramic, and so forth when applied correctly.
Application Tips:
- Ensure surfaces are clean and dry
- Use only a thin layer
- Apply pressure during curing
- Handle with care to avoid skin contact
Being great for fast fixes, super glue sometimes proves unfit for heavy-duty use, as well as places frequently exposed to heat and moisture.
🔧 All-Purpose Adhesives for Versatile Use
All-purpose adhesives are made to adhere to many classes of materials, making them very essential for many projects. The main reason people go for all-purpose adhesives is their versatility; they can work on a variety of surfaces such as wood, plastic, metals, and fabrics.
Advantages:
- Works on multiple surface types
- Provides solid and durable hold
- Environmental resistance
- Easy to apply
Being widely applicable makes all-purpose adhesives the baselines for any series of maintenance tasks, crafting, and light construction.
Drying Times and Curing Processes
The drying period of adhesives varies enormously with the type of adhesive in use, environmental conditions, and what materials are joined. For many adhesives, the initial drying time ranges from a few minutes to a few hours. At this stage, the adhesive sets enough to handle slight loads, but full strength has not been reached. Ensure good ventilation during the initial drying stages for best drying conditions.
Frequently Asked Questions (FAQ)
Q What is the best glue for cloth to plastic?
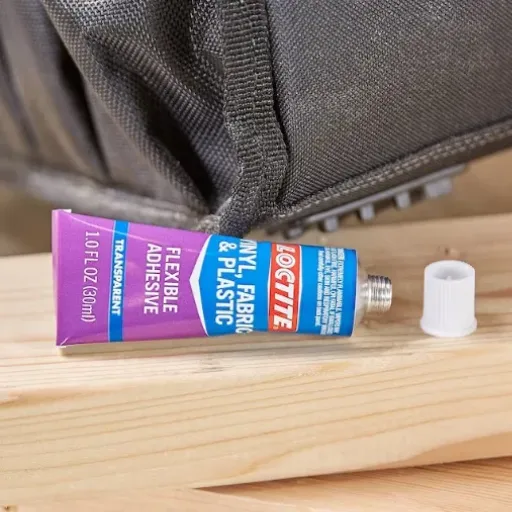
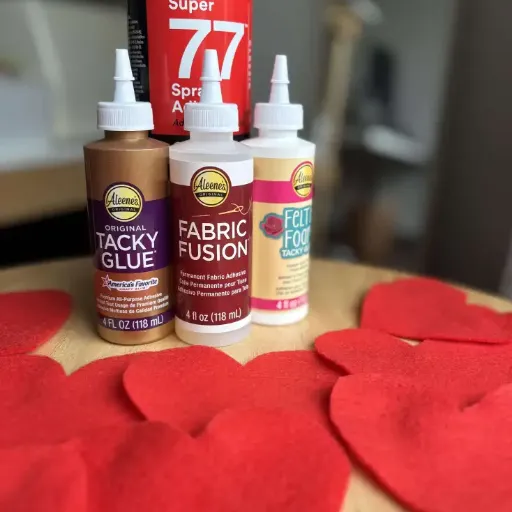
For the best glue between cloth and plastic, options vary according to the activity, but gluing with contact adhesives or clear liquid adhesives work for most applications. Other products like Aleene’s fabric glue and Loctite vinyl are generally preferred since they provide strong bonds with flexibility.
Q How does one apply glue to edges of cloth and plastic?
To glue the edges properly, apply a little glue on both surfaces to attain thorough adherence and press together the edges firmly until set. After cementing, it will be a good idea to tape the pieces securely with masking tape until dry.
Q Can spray adhesive be used for cloth to plastic?
Yes, spray adhesive can be used for cloth to plastic, especially working with larger areas. Make sure to adhere to the setting instructions of the manufacturer. Spray evenly, keep for a few seconds till it reaches tacky, then join both of the surfaces.
Q What glue should be used to glue flexible plastics?
To glue flexible plastics, adhesives like poly cement, which are specially designed for these materials, should be considered. It maintains flexibility after curing and is good for flexible materials that may require movement or bending.
Q Will the glue bleed through fabric?
Some adhesive may bleed through fabric, especially if grossly applied. Always test for a small area first and proceed with a small quantity of glue to minimize the problem. It also helps if you place and tape masking tape around the edges of the fabric as a barrier.
Q How long does it take for the glue to set when bonding cloth to plastic?
Depending on the glue being used, the set time should be anywhere from a few minutes to several hours; typically, you should keep the cloth and plastic pressed together until the glue has set. Check the instructions of the product for an exact setting time.


