For any DIY projects, repairs, or crafts, sticking plastic to metal might appear difficult. You need to ensure you chose an adhesive that will give you a strong, durable bond between these two completely different kinds of materials. But with so many options available—super-glues, epoxies, industrial adhesives—which one should you go for? This complete guide will take you through the important types of glue, their peculiar strengths, and uses and help you to decide which one truly fits your purpose. Whether you are doing a casual DIY or a professional repair, this guide will make making the choices easier and the process more effective.
Introduction to Bonding Plastic to Metal
Challenges of Plastic-to-Metal Adhesion
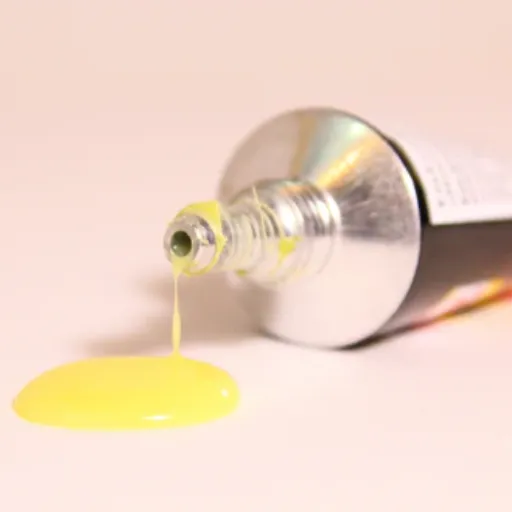
Plastic-to-metal adhesion presents several challenges due to the different properties of these materials. Plastics tend to be nonporous and have low surface energy to which adhesives hardly develop a bond unless surface preparation is appropriately carried out. Metals, on the other side, stand usually stronger bits and sometimes prone to corroding, which will also weaken the bond with time.
A major problem is the different thermal expansion coefficients of plastic and metal. Temperature changes cause plastic and metal to expand and contract with differing speeds, straining the adhesive bond and causing it to lose strength. Another problem encountered is that depending on the particular brand of plastic used, resistance to chemical attack may be very high. High chemical resistance usually renders some adhesives inappropriate since such adhesives cannot interact with or adhere to the plastic.
To solve these problems, both surfaces must be properly prepared before bonding. Cleaning procedures would include removing grease, oils, or contaminants and, if applicable, sanding or applying a primer for increased surface roughness or adhesion. It is then paramount to select adhesives rated for bonding plastic to metal to ensure compatibility and optimum performance under the specific condition of use.
Common Applications for Plastic-Metal Bonds
Plastic-to-metal bonding comes into play in numerous industries and applications, dependent upon the integration of two materials with very contrasting physical properties. One such application is in the automotive sector, where having light yet durable components joined by plastic-to-metal bonds-such as dashboards, trim, and interior panels-is quite common. The pairing of plastics with metals allows manufacturers to trim down vehicle weight while ensuring structural integrity and aesthetic appeal.
🚗 Automotive
Dashboards, trim, interior panels
📱 Electronics
Casings, enclosures, components
🏢 Construction
Panels, fittings, structures
Another important area involves electronics, where bonding plastics to metals is needed for casings and enclosures that shield delicate electronic components: The bonds must provide durability and precision to keep those devices functioning well into their design life. This ability of combining materials of opposing properties-in this case, metals offering heat conduction and plastics insulation-is a boon to this industry.
Moreover, plastic-to-metal bonding is also crucial in making composite materials and structures for building and aerospace applications. These bonds go into production for things such as lightweight panels, insulated fittings, and components that must withstand extreme conditions. Plastic-to-metal bonds truly open a world of possibilities concerning design and engineering, allowing the final products to truly meet performance and safety criteria.
Importance of Adhesive Selection
Choosing the right adhesive will ensure success and longevity of plastic-to-metal bonds. The different applications require different things like strength, flexibility, and resistance to environment conditions such as heat, moisture, and chemicals. If an adhesive is selected that fits the needs of a project, it will become more reliable and allow the structure or component to work in the manner in which it was originally designed.
Key Selection Factors:
- Material Compatibility: Ensure adhesive works with specific plastic and metal types
- Environmental Resistance: Consider heat, moisture, and chemical exposure
- Mechanical Stress: Evaluate load-bearing and flexibility requirements
- Application Method: Consider working time, cure time, and ease of use
An important consideration is adhesive compatibility with the material. Some adhesives work well with many non-porous surfaces like metals and plastics, whereas others don’t bond well to certain coatings or finishes. Another important factor to consider while selecting an adhesive would be to understand the thermal and mechanical stresses the bond will endure in order to select the one that will stand the test of time.
The other requisite to consider is how it is going to be applied in terms of working time and curing time. Such considerations would include how user-friendly does the application need to be; is it for a big or intricate surface area; and under what conditions does it need to cure? Leaning towards any of these considerations makes for a smoother production process in which the adhesive is seamlessly integrated. Decision-makers should weigh such considerations to ensure the structural plastic-to-metal bonds are strong and reliable enough to meet the needs of the respective applications.
Types of Adhesives for Plastic to Metal Bonding
Overview of Adhesive Options
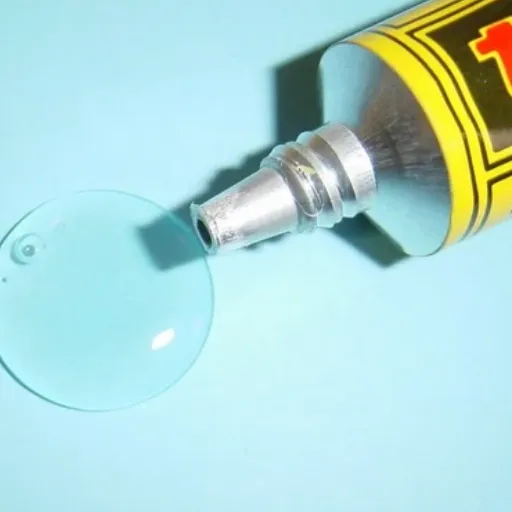
When bonding plastics to metals, various adhesives come into consideration, each with its own properties and applications. Some of the popularly used adhesives are epoxy, cyanoacrylates, silicone-based adhesives, and polyurethane adhesives.
| Adhesive Type | Strengths | Best Applications |
|---|---|---|
| Epoxy | Strong, durable, heat/moisture resistant | High-load applications, harsh environments |
| Cyanoacrylate | Fast-curing, precise application | Small surfaces, quick repairs |
| Silicone-based | Flexible, accommodates movement | Dynamic environments, vibration resistance |
| Polyurethane | Strong bonds, environmental resistance | Wide substrate variety, outdoor use |
Epoxy adhesives are generally believed to form very strong and durable bonds. They serve best when a higher load-bearing capacity is needed, coupled with resistance to environmental elements such as heat or moisture. Aging is not much of an issue with these adhesives. Usually, two components-the resin and the hardener-need to be mixed before application, allowing for cure to a hard and high-strength form.
Cyanoacrylates might be quickly cured and serve well for bonding tiny surfaces requiring precision. Silicone-based adhesives offer some elastomeric characteristics, thereby accommodating movements or vibrations in dynamic environments. Polyurethane adhesives can form strong adhesive bonds to a wide variety of substrates and are quite environmentally resistant, but by that very resistance to moisture they often fail to cure satisfactorily. It all depends on the nature of your work and its requirements, so choose wisely.
Super Glue and Cyanoacrylate Options
🔸 Quick Facts About Super Glue
- Speed: Bonds within seconds
- Strength: Strong permanent bonds
- Best for: Non-porous to semi-porous surfaces
- Cost: Economical for small applications
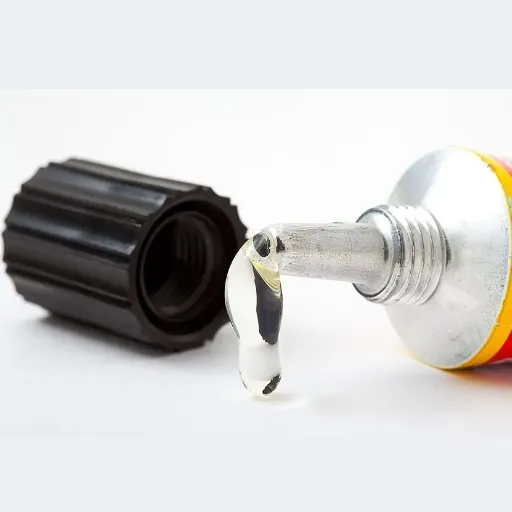
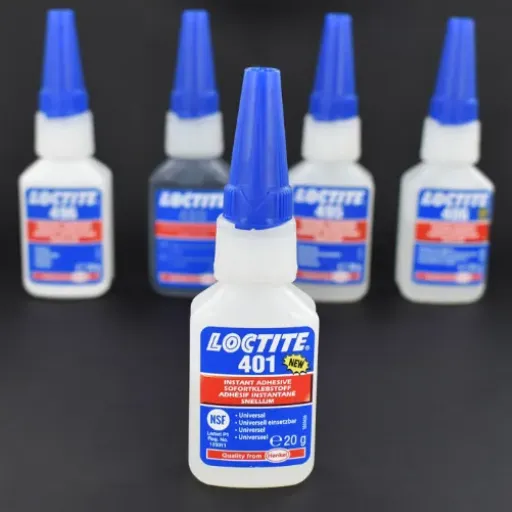
The name super glue is a derivative of the term cyanoacrylate glue. This is a fast-acting bonding agent suitable for an extensive range of materials: plastic, ceramic, metal, and wood. Due to its rapid-setting attributes, it has become a very convenient option in both household and industrial applications. It bonds within seconds quite strongly eternally, reacting with moisture in the air or from the surfaces being joined.
It is one of the further versatile options for cyanoacrylate adhesives. Cyanoacrylate works well for intricate repairs or for delicate materials where a lot of precision has to be used. Also, super glue works well in small amounts, so it is a cost-efficient option for a variety of small fixes. That said, though, it does work best on non-porous or semi-porous surfaces. When it comes to porous materials like fabrics or some kinds of woods, the adhesive usually does not cure properly or weakens with time.
⚠️ Limitations to Consider
- Not highly resistant to shock, heat, and water
- Risk of skin bonding during application
- Limited flexibility for dynamic applications
- Not suitable for long-term outdoor exposure
Super glue offers versatility; yet, there remain drawbacks to consider. Usually, it is not so resistant to shock, heat, and water, so the glue will not do if it is going to be subjected to high stress, without or outdoors. Also, the glue is not to be mishandled since inadvertent application on skin could mean bonding. Another kind would be preferable for applications requiring some flex, or that are going to be exposed to harsh conditions for long periods-e.g., epoxy or polyurethane adhesives. The right glue gets selected on the understanding of both the material property and environmental requirement for the application.
Epoxy: A Strong Choice for Plastic and Metal
🏆 Why Choose Epoxy?
Superior Strength
Heat Resistant
Moisture Resistant
Chemical Resistant
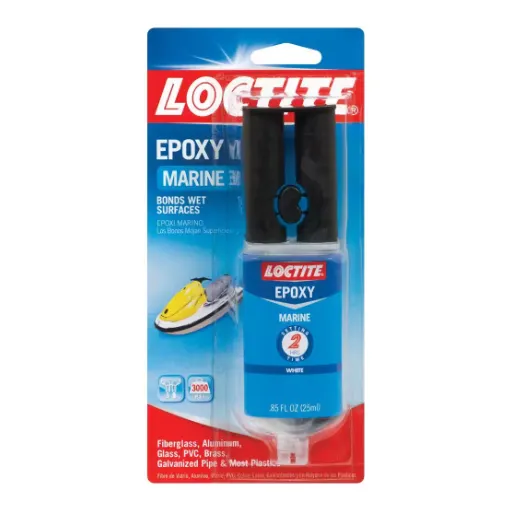
Epoxy adhesives work well to bond plastic and metal because of their strength and durability. These adhesives form strong chemical bonds with a wide variety of materials and are ideal for permanent applications where a really strong hold is needed. These systems are further suitable for hostile conditions where moisture, heat, or chemicals exist or even try to interfere with the bond of epoxy.
The surface must be well prepared when bonding plastic and metal with epoxy. Both surfaces have to be wiped dry and cleaned thoroughly, with light sanding being done on occasion to attain a better adhesive grip. Mixing resin and hardener needs to be done carefully because an incorrect way or an incomplete way could dry down and degrade the adhesive strength of this glue. And one should cure the adhesive for the time suggested by the manufacturer to enable the adhesive bond to reach full cure strength.
Due to their versatility and reliability, epoxy glues have contributed lots to the fields of building and construction, automotive, and aerospace. In repairing a broken object or bonding materials into an environment of high stress, epoxy adhesives offer a work-hardened solution that can work in rough conditions. Selecting epoxy and applying it correctly enable you to form a strong, long-term glue between a plastic-and-metal pair.
Surface Preparation Techniques
Cleaning the Plastic Surface
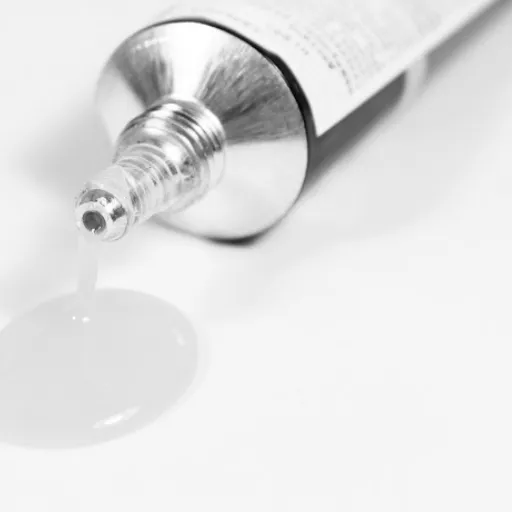
Proper cleaning of the plastic surface is a step to make sure the bond upon gluing with epoxy is well made. Begin by washing off any visible dirt or grease or debris that might be on the surface itself. One can use a soft cloth or brush with warm, soapy water. Thorough rinsing is necessary, and the plastic should be allowed to dry completely before proceeding with further preparations.
✅ Plastic Cleaning Checklist
- Initial Wash: Remove visible dirt with warm, soapy water
- Thorough Rinse: Ensure no soap residue remains
- Complete Drying: Allow surface to dry completely
- Final Clean: Wipe with isopropyl alcohol
- Surface Check: Inspect for any remaining contaminants
Once dry, isopropyl alcohol or some good non-corrosive cleaner is used for final cleaning of the surface for eliminating oils and residues that may have not been removed during the initial cleaning phase. Applying the cleaner to a clean cloth and gently wiping the plastic so as not to miss treating any area goes best. Avoid abrasive cleaners or tools that could scratch the surface or could diminish the adherence of the epoxy.
Now, check upon the plastic surface for anything which may be contaminating it. In particular, those with slick or glossy finishes should go through a very light sanding with a very fine grit sandpaper, to ever-so-slightly roughen the surface and improve grip of the epoxy. After sanding, wipe off any sanding dust with a dry cloth or paper towel, leaving the surface clean and ready for adhesive application.
Preparing the Metal Surface for Adhesion
To adhere a metal surface, one must ensure that the surface is free from dirt, grease, oil, rust, or other contaminants that prevent proper bonding. One should clean the surface with a degreaser or solvent cleaner. Then, immediately wipe it dry with a clean, lint-free cloth so that residues or moisture do not diminish adhesion.
🔧 Metal Surface Preparation Steps
- Deep Clean: Use degreaser or solvent cleaner
- Rust Removal: Strip away oxidation and corrosion
- Light Sanding: Create texture for better adhesion
- Dust Removal: Wipe clean with lint-free cloth
- Avoid Contamination: Don’t touch with bare hands
Next, one should check the metal surface for imperfections or features that might compromise adhesive performance, such as oxidation or corrosion. In the case of rust or oxidation, these must be stripped away with a wire brush, abrasive pad, or sandpaper. Once all rust is removed, lightly sand the metal to impart a finely abrasive texture that enhances the adhesive’s grip by increasing surface area. Do not overdo it, as it could cause unnecessary weakening of the material.
Once sanding is complete, wipe the surface down again with a clean cloth, ideally dry, to remove any dust or dirt generated by the sanding process. Avoid touching the cleaned metal with bare hands, as oils from the skin may interfere with adhesion. Adhesive application is best carried out as soon as possible after surface preparation, since exposure for a longer time period may absorb contaminants or oxidize drifting metal oxide in air. Proper preparation shall result in maximum bond strength.
Importance of Surface Roughening
Surface roughening is of great importance in obtaining strong adhesion with good durability. When a surface is too smooth, it reduces the possibility of an adhesive getting into mechanical bonding. By roughening, microscopic peaks and valleys are formed on the surface, increasing the area too much so the adhesive can grab onto the surface well and evenly distribute the stresses when in use.
Increased Surface Area
More contact points for stronger bonds
Contaminant Removal
Eliminates oils and oxides
Stress Distribution
Even load distribution across bond
Further, roughening can help cleanse any dirt, grease, or oxides that might weaken the bond. In this way, the adhesive can come into intimate contact with the substrate, further strengthening the assembly. Surface roughening is of particular importance for substances, like metals, plastics, and composites, where smooth finish products tend to resist adhesion.
When the surface has been properly prepared, consistent and durable results can be expected, particularly in challenging end-use environments where performance is critical. Whether for industrial construction scenarios or day-to-day purposes, roughening helps put every bit of potential into the adhesive for longer and more secure bonding.
Application Techniques for Strong Bonds
Step-by-Step Guide to Applying Adhesive
🔥 Professional Application Process
-
1
Prepare the Surface
The surfaces should be at first cleaned thoroughly with dirt, grease, dust, or other contaminants to prevent potential weaknesses in the bond. The next step for the adherence will be a clean one free of any contaminant that weakens the adherence bond. Use a suitable solvent or cleaning method befitting the materials.
-
2
Roughen the Surface (if applicable)
Sanding or using some abrasive surface to roughen the bonding surface is good for metals, plastics, or composite materials. This step helps adhesion since it increases surface area and maximizes bonding chances for the adhesive.
-
3
Apply the Adhesive
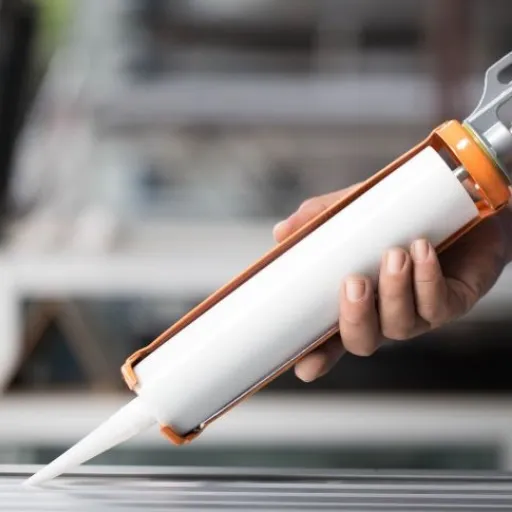
Apply the adhesive onto one surface thoroughly by brushing, spraying, or through application with the nozzle of the dispenser, depending on the instructions for the particular adhesive product. Do not place very large quantities of adhesive, as this can result in dripping or an uneven bonding layer. The layer of adhesive should cover the entire area requiring bonding, without any gaps.
-
4
Join the Surfaces
Squeeze the bonding surfaces firmly against each other with proper positioning, holding them in place as required by the adhesive instructions below, or use clamps or weights to hold down the work pieces as needed. The proper positioning is very important while applying adhesives to achieve a reliable bond.
-
5
Cure and Set
Cure for the time stipulated by the product instructions. Note that environmental considerations such as temperature or humidity may speed up or slow down the curing times, so adjust for such things if you can.
-
6
Inspect and Test
After full setting of glue, inspect bonds for adherence and subjected to strength testing and checks for missed areas before using.
Follow these steps, and consistent and lasting effects may result for applications in several fields. Preparing well for application and patience during the adhesive procedure will guarantee that it works as intended.
Tips for Even Adhesive Distribution
💡 Pro Tips for Perfect Application
🎯 Prepare the Surface Properly
Ensure that the surface is clean, dry and free of grease or any dirt. Such contaminants can prevent correct adhesive distribution and equal bonding.
🔧 Using Appropriate Tools
Adhesive application requires tools such as brushes, rollers, or applicators corresponding to your particular adhesive type. These tools help apply the material uniformly onto the surface.
📏 Thin Layers Applied Evenly
Do not overapply adhesive; thicker layers mean uneven distribution and longer curing time. Apply pressure with a motion that ensures a consistent layer.
📐 Work by Sections if Needed
For very large surfaces, divide the area into sections. Apply and spread the adhesive in one section, then move on to the next to prevent premature setting of the adhesive.
🔍 Check for Gaps or Excess Material
Check the applied adhesive for gaps of pooling before joining the surfaces. Use a scraper or other similar tool to redistribute the adhesive if needed for full and even coverage.
By adhering to these tips, you will improve the quality of an adhesive bond and your application will surely work out very well and effectively.
Drying and Curing Times
Drying and curing times vary depending on the type of adhesive, atmospheric conditions, and the material types involved in the bonding process. Usually, the drying process means when the adhesive partially sets and can hold the surfaces together, whereas curing is when the adhesive hardens completely and has maximum strength. Commonly, water-based adhesives may dry anywhere from 20 to 60 minutes while solvent or epoxy types could require a few hours to set.
| Adhesive Type | Drying Time | Full Cure Time | Factors Affecting Time |
|---|---|---|---|
| Water-based | 20-60 minutes | 24 hours | Humidity, temperature, ventilation |
| Solvent-based | Few hours | 24-48 hours | Temperature, solvent evaporation rate |
| Epoxy | Few hours | 24-72 hours | Temperature, humidity, bond thickness |
| Industrial Grade | Variable | 48-72+ hours | Application-specific conditions |
Meanwhile, the curing time can vary from one adhesive to another. Some can achieve full cure within 24 hours, yet some industrial-type ones can take even 48 to 72 hours or beyond to reach their full performance. The curing time is further affected by humidity, temperature, and the thickness of the bond itself. Higher temperature and moderate humidity speed up curing. In contrast, lower temperature or very high humidity slows curing.
⏰ Important Timing Guidelines
- Follow manufacturer instructions: Always check specific product guidelines
- Environmental factors matter: Temperature and humidity affect cure times
- Don’t rush the process: Allow full curing before stress testing
- Monitor conditions: Control environment when possible for optimal results
For best results, always follow the manufacturer’s instructions on drying and curing times for your adhesive. The bond should not be handled or subjected to stress until the adhesive has completely cured in order to avoid the weakening of the final bonding. By carefully monitoring these periods, one assures a strong, durable bond in the application.
Troubleshooting Common Issues
How to Identify Weak Bonds
🚨 Warning Signs of Weak Bonds
Peeling
Edges lifting or separating
Cracking
Visible cracks in adhesive
Movement
Looseness under light force
Separation
Complete bond failure
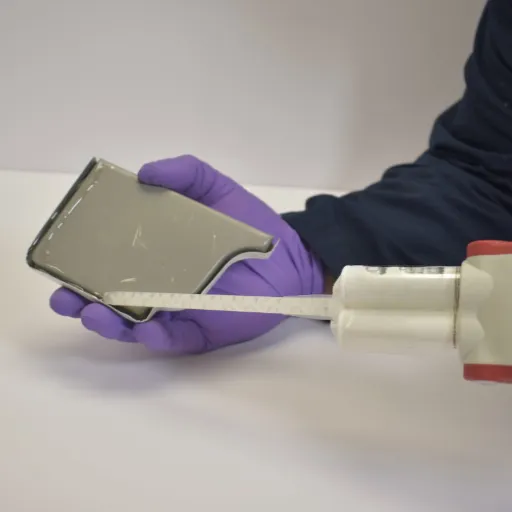
Weak bonds in any adhesive will show signs once peeling, cracking, or separation takes place at the bonded surface edges. If, however, the bond inside feels loose or tries to move under the slightest force, then it is evidence of an insufficient bonding. There can be a few instances that a weak bond will cause the applied adhesive to fail in terms of durability and use.
The typical causes of a weak bond can be the wrong surface preparation method or an incorrect choice of adhesive or simply a disregard to the right curing time. A surface that is dirty, oily, or uneven will continue to obstruct the adhesive from making a very good bond. An adhesive unsuitable for the material or for the environment-one not suitable, for example, for temperature variations or high humidity-can cause bond failure.
Addressing weak bonds should begin with the basic cleaning and preparation requirement for the surface in question as stipulated for that particular adhesive. Then, use the correct adhesive for the job at hand and for the materials used, and as far as possible, follow all drying-up and curing time instructions very carefully. Consider any environmental factors that may exist, and work them into your plan for a strong, reliable bond.
Fixing Adhesive Failures
Fixing adhesive failures requires a systematic approach to find the root cause and take those remedial measures that the actual cause demands. Start by inspecting for contaminants on the bonding area, surface imperfections, or improper preparation. Make sure all surfaces are perfectly clean; dirt, grease, or residues would be a hindrance to perfect adhesion. The materials used in the cleaning process should not react adversely with either the adhesive or the cleaning surfaces.
🔧 Systematic Repair Process
- Inspection: Check for contaminants, surface imperfections, preparation issues
- Surface Cleaning: Ensure perfect cleanliness, remove all dirt, grease, residues
- Adhesive Selection: Verify correct type for materials and conditions
- Application Review: Follow product instructions precisely
- Environmental Control: Consider protective measures when needed
Once this is done, ensure that the appropriate adhesive has been selected for your materials. Different adhesives are meant for various surfaces and conditions; if you use the wrong type, your bond might be a failure. Check the specifications of your adhesive to be sure it will work with your materials and conditions; also verify it satisfies all other requirements of your project. Application must follow the instructions on the product: that means how long to cure, pressure to be applied during bonding, and environmental conditions such as temperature and humidity.
The last step to check solvents and other chemicals that might have an adverse effect on the bonding process: In particular, these environmental factors will shorten the ability of the adhesive to bond under conditions of high humidity and temperature variations. Protective measures could be considered; e.g., by the use of sealants or by carrying out bonding in controlled environment conditions. By taking an integrated approach towards preparation of the surface, choice of adhesives, and environment, you will ensure a strong and lasting adhesive bond.
Preventing Future Issues with Maintenance
Constant maintenance is paramount to ensure the longevity of adhesive bonds. To eliminate common issues, inspections must be performed periodically to identify any evidence of stress or deterioration in the bonded area. Signs include cracks, peeling, or discoloration, all indicating that the bond could be weakening. Early detection allows for timely action before bigger problems start to develop.
🛡️ Preventive Maintenance Strategy
Regular Inspections
Monitor for cracks, peeling, discoloration
Environmental Control
Manage temperature and humidity exposure
Protective Measures
Use sealants and coatings when needed
Record Keeping
Track performance and maintenance history
Environmental factors such as variations in humidity and temperature, as well as chemical exposures, have a degrading effect on and can weaken adhesive bonds over time. To counteract such effects, bonded materials should be stored and used under proper conditions. Where necessary, cover adhesives with a protective coating or sealant to insulate the bond from moisture and other adverse factors. This should all become part of your regular maintenance routine.
Lastly, the keeping of records pertaining to the maintenance performed and any repairs made-bonds performance overtime-will facilitate proper planning and help identify trends that could aid in making decisions, in the future, concerning types of adhesives or bonding processes. With simple yet effective maintenance techniques at hand, you can significantly enhance adhesive reliability and adhesion lifespan.
Frequently Asked Questions (FAQ)
💡 Expert Answers to Common Questions
❓ What method is best used for gluing plastic to metal?
The best way to put plastic to metal with glue is by using a very powerful adhesive meant for plastic bonding, such as an epoxy resin or a dedicated plastic glue. Make sure that both surfaces are cleaned. Follow the manufacturer’s instructions with respect to forming-set time and application method for the best result.
❓ Can I glue plastic onto metal using superglue?
Yes, superglue, especially Loctite Super Glue, is a good choice for bonding plastic and metal. The issue with superglues is that you have to check first if the type of plastic is compatible with the glue because some plastics are a bit difficult to glue.
❓ Which types of plastic may be glued to metal?
Many varieties of plastic, including polypropylene and polyethylene, can be glued to metal. But it’s important to choose appropriate glue meant for metal to plastic applications if a good strong adhesion is desired.
❓ Do automotive applications have suggested adhesives?
Yes, there are adhesives designed to be used in automotive applications; these adhesives become available to bond metal to plastic. They frequently offer high strength and moisture resistance so can be used on automotive parts and repairs.
❓ How long before the glue sets when gluing plastic to metal?
It depends on the glue being used. Some adhesives are faster to set than others. There are cases like epoxy resin which takes longer to set fully, whereas others in a few minutes will set like super-fast drying adhesives.
❓ If I use construction glue to bond plastic and metal will it work?
Construction glues are usually not recommended in plastic-to-metal applications because it might not hold very well. Instead, seek those specialized adhesives for such a purpose, such as plastic bonder or metal glue.
❓ What is strongest magic glue to glue plastic and metal?
Maybe strongest adhesives recommended in gluing plastic and metal are epoxy resin and heavy-duty weld waterproof epoxy. These glues are high in strength and durability, which makes them suitable for more challenging applications.
❓ How do I prepare surfaces before gluing plastic to metal?
To prepare surfaces for gluing plastic to metal, clean both surfaces with acetone or suitable cleaner to remove dirt and grease. Surfaced must be dry, and sanding must be carried out on metal to make surface rough to improve adhesion.
❓ Can clear glue be used for invisible repairs on plastic and metal?
Yes, clear glue is very much ideal for invisible repairs on plastic to metal. Seek a clear glue that dries clear to have your repairs be discreet yet effective.
References
How to stick plastic to metal: Getting it done with glue – Loctite – A guide recommending Loctite Extreme Epoxy for strong and durable bonds between plastic and metal.
Our Guide to Glue On Metal [Updated for 2025] – Gorilla Glue – A comprehensive guide discussing the use of epoxy and super glue for bonding plastic to metal.
Type of glue for plastic/metal, not too fast, cannot press surfaces together – DIY Stack Exchange – A discussion on using cyanoacrylate glue (super glue) and other adhesives for bonding plastic to metal.


