Styrofoam tends to be challenging to glue when broken and damaged because it’s light and easily damaged. Whether it’s a crafting project, a repair activity, or a Styrofoam decoration, knowing how to bond pieces together perfectly with the right glue and tools is essential. This article is a comprehensive guide to all things Styrofoam, detailing how to select the best adhesives and providing step-by-step instructions, so you can confidently work on gluing Styrofoam back together. You’ll acquire all the tips and tricks for a proper and permanent repair.
Choosing the Right Adhesive for Styrofoam
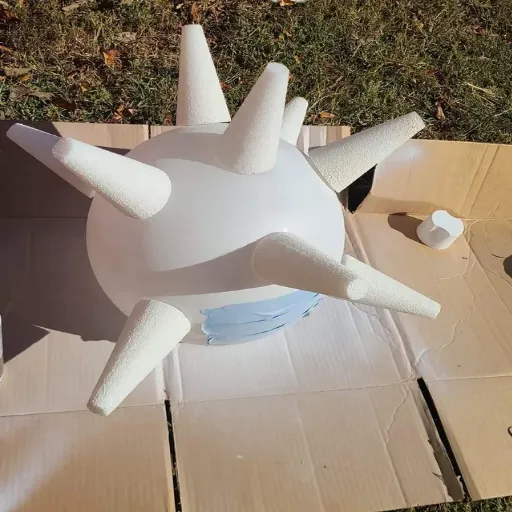
⚠️ Important: An important consideration when purchasing glues for Styrofoam is that one must use adhesives specifically designed for that material, as others may damage it.
The best options are:
- Foam-Safe Spray Adhesives: These offer ease of application and even coverage, suitable for lightweight projects. Choose adhesives labeled as “foam-safe” or specifically for Styrofoam.
- Specialized Styrofoam Glues: These are formulated to bond well without melting the material.
- Hot Glue (Low Temperature): Operate your glue gun on a low-temperature setting to prevent the Styrofoam from warping or melting.
Factors to Consider When Selecting Glue
Recommended Types of Glue for Styrofoam
Styrofoam requires adhesives that provide strong bonds without damaging the fragile structure of the material. Here is a list of some of the best types of glue recommended for Styrofoam:
| Adhesive Type | Description |
| Hot Glue (Low-Temperature) | Low-temperature hot glue guns are the best type of glue for Styrofoam. High temperatures can melt or deform the material; therefore, always use a glue gun marked as low-heat. |
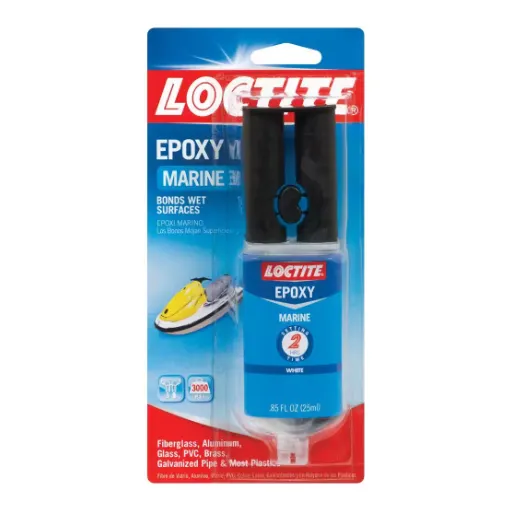
| Epoxy Adhesives | The adhesive properties of epoxy adhesives are excellent, providing durability and strength. They work exceptionally well when attaching Styrofoam to wood or metal. |
| Urethane-Based Glues | Especially developed for porous materials such as Styrofoam, these adhesives produce a strong and moisture-resistant bond. |
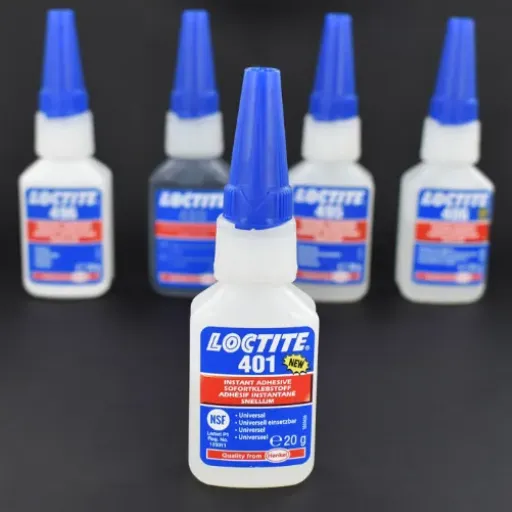
| Foam-Safe CA Glue | Ordinary super glue can damage Styrofoam, but this special type of cyanoacrylate glue adheres strongly without chemically damaging it. |
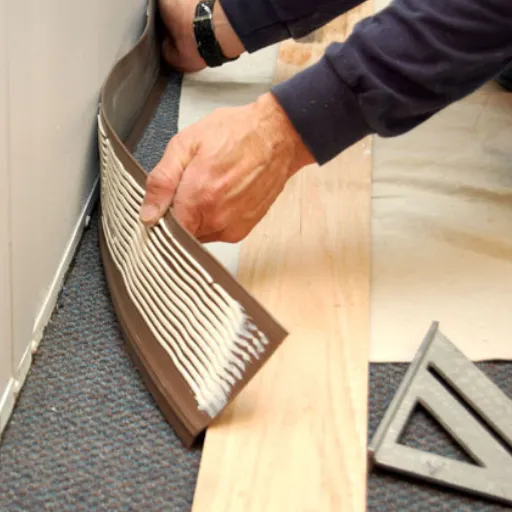
| Spray Adhesives | Multipurpose spray adhesives are ideal for coating large areas quickly and evenly; those labeled for foam work best. These adhesives are perfect for crafts and assembly projects that need Styrofoam. |
Preparing the Styrofoam Surface for Bonding
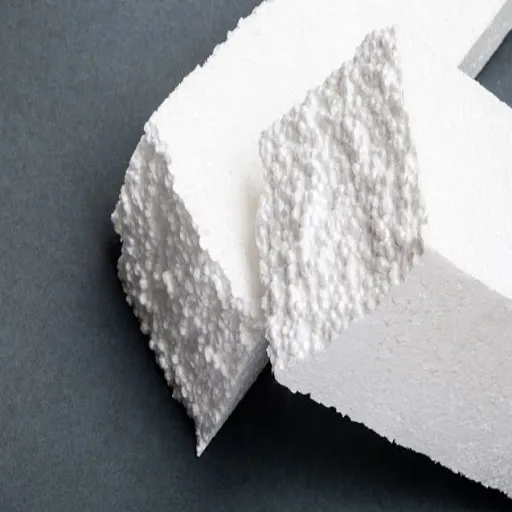
To prepare the Styrofoam surface for bonding, follow these steps:
- Clean the Surface: Remove dust, dirt, or debris with a soft, dry cloth or brush. Do not wet the surface, as water could hinder the gluing process.
- Smooth Uneven Areas: Lightly sand any rough or uneven edges that may be present. Handle it very carefully to avoid damaging the Styrofoam. Try not to create any deep grooves.
- Test Fit the Pieces: Place the Styrofoam pieces together before applying any adhesive to ascertain they fit correctly.
Importance of Clean Surfaces
Clean surfaces ensure that any adhesives, coatings, or finishes will act as intended. Dirt or contaminants, such as oils or debris, inhibit the surface from bonding firmly, resulting in weak adhesion and potentially complete project failure. Based on recent data, more guides and tutorials emphasize the steps for surface preparation, as these prepare the surface for increased durability and longevity. With any material, such as Styrofoam, metal, or wood, spending considerable time thoroughly cleaning and preparing the surface is one of the most crucial steps toward achieving professional and lasting results. Clean surfaces are great for highlighting the enhancement of the adhesive and aesthetic qualities of the product itself.
Ensuring a Dry Surface
Having a dry surface ensures the proper adhesion and lasting results in any project. In contrast, moisture can weaken the bond between materials, resulting in premature failure. Recent statistics indicate an increase in searches for the phrase “how to ensure a dry surface before applying adhesive,” highlighting the importance of this step. To ensure the surface dries properly, one must check for and wipe away any visible moisture with a clean, dry, lint-free cloth. The surface should then be left to air-dry completely until it is dry or dried by mechanical means such as a heat gun or hair dryer. Ventilation should be adequate in the workspace, and humidity should remain relatively low to prevent moisture accumulation during lixiviation. These measures ensure the longevity of the final product and enhance its strength.
Step-by-Step Guide to Gluing Styrofoam Together
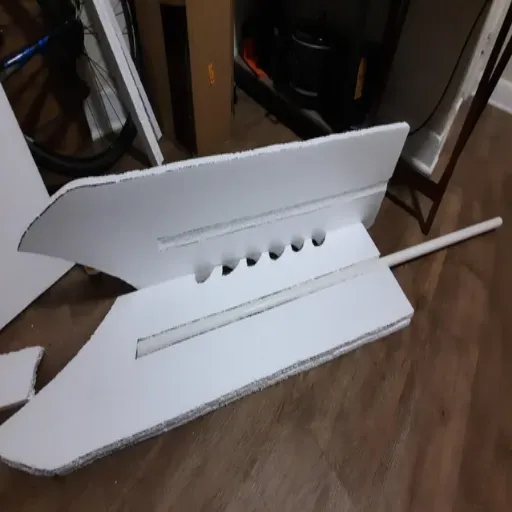
- Choose the Right Adhesive
Use a glue specifically designed for use with Styrofoam, such as foam-safe adhesives, clear-drying craft glue, or low-temperature hot glue. Avoid those with solvents or those that can melt glue. - Prepare the Surface
Ensure that both Styrofoam surfaces are clean, dry, and free from dirt and dust. A smooth and dry surface aids better bonding. - Apply the Adhesive
Apply a thin layer of adhesive to one of the surfaces, maximizing coverage. However, too much glue can result in an uneven bond. - Press the Pieces Together
Align the Styrofoam pieces and press them together firmly for a few seconds to set the initial adhesive. For big pieces, these can be clamped together or have an object placed on top. - Allow the Glue to Cure
Refer to the curing time indicated on the glue and ensure that the Styrofoam remains undisturbed during this time for best adhesion.
How to Apply the Adhesive
When applying glue, proper preparation of the surfaces to be glued is essential. The surfaces should be clean, dry, and free from dirt, oil, and any other debris. This insulation provides a seamless path for the adhesive to bond firmly. It is recommended to work in a well-ventilated area, especially when using adhesives that emit strong fumes. Glue application processes vary with different adhesive products; therefore, it is essential to be familiar with their specific instructions and recommended thicknesses. Temperature and humidity are influenced by the curing time of the glue, so it is advisable to monitor weather-related updates or review updated recommendations in the product details. Proper glue application will help bond your project safely and securely.
Joining the Pieces Effectively
From a practical standpoint, joining pieces needs proper alignment of materials. For strong bonding, surface treatment is one of the prime recommendations given nowadays. Surface treatment involves the following steps: cleaning the materials to remove dust, oils, or residues that can negatively impact adhesion. Applying a clamp or weight to maintain pressure on the bond during the curing phase may yield even better results. Once the adhesive is used, adjustments should be kept to a minimum, as excessive movements can weaken the bond. Consistently following this practice will result in improved reliability and added durability in the assembled product.
Tips for Ensuring a Lasting Bond
- ✓
Prepare the Surfaces – Clean and dry the surfaces thoroughly to remove dirt, grease, or any contaminants that might weaken the bond. - ✓
Choose the Right Adhesive – Select an adhesive suitable for the materials being joined and the specific application. - ✓
Apply evenly – Distribute the adhesive evenly across the surfaces to create a uniform bond. - ✓
Use Proper Pressure – Apply consistent pressure using clamps or weights to ensure the surfaces stay in place while the adhesive cures. - ✓
Allow Adequate Curing Time – Follow the recommended curing time specified by the adhesive manufacturer for optimal results.
Working in Optimal Conditions
For maximum strength and durability of the adhesive bond, working under the best conditions is imperative. Temperature and humidity are two primary environmental factors that affect adhesive application. Most adhesives are best applied in an environment with a temperature range of 65°F to 75°F (18°C-24°C) and a moderate relative humidity level. Excessive heat or cold temperatures weaken the adhesive property, also affecting its ability to cure properly. Likewise, the surface should be cleaned and dried to achieve better adhesion, and other factors, such as dust, grease, or moisture, should not contaminate it. Specific environmental requirements, as recommended by the respective adhesive manufacturers, must be adhered to in order to achieve optimal results.
Reinforcement Techniques for Heavy Pieces
Combining different reinforcement methods can repeatedly contribute to strengthening and durability when securing heavy pieces. It has always been common to use mechanical fasteners, such as screws or bolts, in conjunction with a strong adhesive bond. This double method ensures that the piece remains secure should one system fail. In addition, brackets, braces, or corner reinforcements can distribute weight evenly to provide greater stability. For any installation to the vertical or overhead position, anchors or toggle bolts designed to sustain heavy loads should be considered. Pay attention to exact alignment and all weight capacity guidelines to avoid creating structural weaknesses. Refer to the manufacturer’s specifications and consider seeking professional advice tailored to your specific project for optimal outcomes.
Troubleshooting Common Issues with Styrofoam Adhesives
🔧 Adhesive Fails to Bond Properly
Ensure the surface is clean, dry, and free from dust or grease before applying the adhesive. Use the adhesive recommended for Styrofoam and check on its expiry date. The more evenly an adhesive is applied and the more it is given time to cure, the better the bond.
🔥 Adhesive Melts the Styrofoam
Some adhesives have solvents that dissolve Styrofoam. To avoid this problem, always use adhesives that are compatible with Styrofoam or that do not contain solvents.
💪 Weak Bond Under Stress
If the bond becomes weak under load, verify that the materials used for the glue are the correct type, taking into account the weight and application. Use extra fasteners or support if needed.
⏱️ Adhesive Dries Too Quickly
Try working in smaller areas when you find your adhesive drying too fast. Check the room temperature and humidity, as these factors may contribute to a rapid drying time. One can opt for an adhesive that slows down the curing process.
👃 Unpleasant Odor During Application
Use the adhesive in a well-ventilated area to reduce exposure to strong odors. Always use low-odor or environmentally friendly adhesives when possible. The manufacturer’s safety instructions should always be followed.
Dealing with Adhesive Melting Styrofoam
These particular materials, termed adhesives, are kept from melting styrofoam only by their selection as special ones for use on foam materials. Most adhesives contain solvents or chemicals that can break down styrofoam, thereby dissolving or degrading it. Hence, the glue should be solvent-free, water-based, or compatible with styrofoam, such as polyurethane or silicone-based glues. An adhesive compatibility test should be applied to a small, inconspicuous area before actual applications. Other solutions could be double-sided tape or adhesive sheets, depending on the situation and surface, to prevent chemical reactions altogether. Along the way, test applications will be conducted with the reassurance of the packaging and the manufacturer’s directions.
Fixing Weak Bonds or Poor Adhesion
In cases of weak bonds or poor adhesion, first check the surfaces to be joined. Ensure beforehand that they are clean, dry, and free of oils and dust; such contaminants can obstruct the adherence of adhesive material. Slightly sanding surfaces that do not absorb much moisture, such as plastic or metal, will provide adhesion with some micro-abrasions to hold onto.
If intense results are never achieved with a particular glue, check whether the glue type is suitable for the materials being joined. For the strongest bond, industrial epoxy or hybrid glues may be more ideal than typical household glues. Applying even pressure during curing will also help increase bond strength. Always allow the curing time to proceed according to the directions. For an additional layer of worthiness and sturdiness, mechanical fastening can be combined with adhesives.
Frequently Asked Questions (FAQs)
What is the best way to glue styrofoam back together?
Can I use wood glue to bond styrofoam?
Is it safe to use caulk with Styrofoam?
How do I apply the glue to styrofoam?
Can I use tacky glue for small-scale DIY projects with styrofoam?
What should I do if my styrofoam pieces come apart?
Can I use a sharp blade to cut styrofoam before gluing?
How long does it take for glue to dry on styrofoam?
What kind of glue works best for bonding styrofoam to other materials?
Reference Sources
The following references are professional and authoritative sources that can be used to confirm the correctness of information on “how to glue Styrofoam back together.” They are academic and reputable sources in the field of adhesives and Styrofoam repair:
- Anatomical Models Manufactured with Styrofoam Waste
The study investigates the use of waste Styrofoam, combined with adhesives, as a means to create low-cost, eco-friendly tools, providing insight into adhesive applications for Styrofoam. - Production of Adhesive from Cassava Starch and Waste Synthetic Materials
The paper discusses the manufacturing of adhesives, including those used for gluing Styrofoam, and their properties. - Choose the Right Glue (Do It Yourself)
This article provides a comprehensive guide to the glue-making process for various materials, including Styrofoam. - Adhesive Bonding: Materials, Applications, and Technology
A detailed book treating the technology of adhesive bonding and materials, offering a scientific approach to the applications of adhesives. - Introduction of Eco-Friendly Adhesives: Source, Types, Chemistry, and Characterization
This chapter covers eco-friendly adhesive technologies and their applications, which may include the repair of polystyrene foam, commonly known as Styrofoam.


