Anyone who has spent an evening tinkering with a PLA print knows that putting two pieces together smoothly feels almost elusive. A single misstep, be it a smear of glue or a crooked fit, can turn a promising model into an apology note to an empty workbench. Picking the right adhesive is far more than a sidebar; it dictates whether a repair lives or breaks again the moment you glance away. The paragraphs that follow outline the main adhesives in plain terms, listing their strengths and quirks so you can meet your next project with sound confidence.
What is the Best Glue for PLA Part?
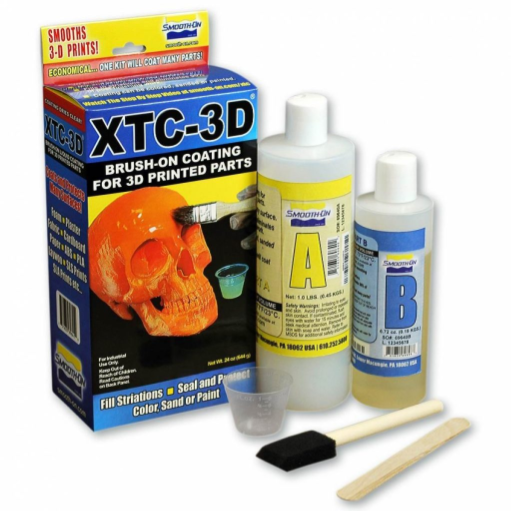
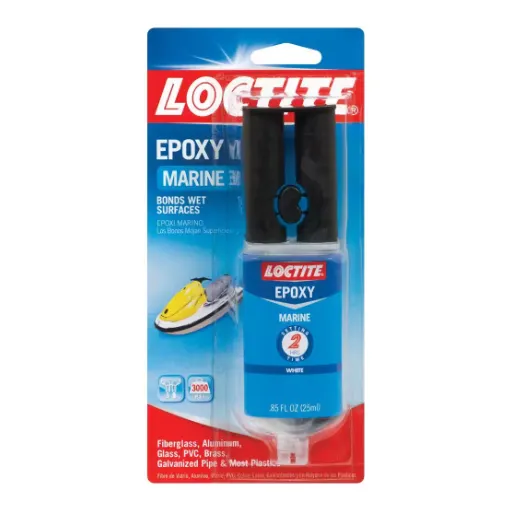
Cyanoacrylate the familiar tube labeled super glue holds the title of everyday champion. It bites into PLA almost instantly, dries clear, and gives a joint enough zip that you doubt it was ever separate. Two-part epoxy, for larger bits or gappy seams that an impatient maker tries to ignore, lays down an extra layer of toughness. Whichever you grab, both options stay friendly and forgiving when measured against the humidity-rattled chaos of an average home workshop.
Why is Glue Important for 3D Printed Parts?
Glue quietly anchors many of the engineering gains promised by modern 3D printing. Because the technology builds objects layer by layer, each horizontal boundary can become a hinge that weakens under shear or tensile forces. Cyanoacrylate, epoxy, and specialty composites step into that breach, fusing discrete segments or knitting together cracked areas with a tensile strength that often exceeds that of the filament itself. Multipart assemblies, which exceed the build envelope or defy a single-print logic, depend on adhesives for integrity and alignment. Even a high-end prototype demands a flawless surface, and a good glue flows into minor gaps, smoothing both appearance and load transfer.
What Types of Adhesives Work with PLA?
Polylactic Acid, widely printed in hobbyist workshops and research labs alike, can be bonded with several adhesives that optimize speed and reliability. For most users, a drop of cyanoacrylate, the quick-setting glue packaged as super glue, intuitively jumps to mind. Its almost-sticky-instant bond works well on tiny, visible seams demanding neatness. Epoxy, in contrast, waits a little longer to cure but offers undeniable heft. That gap-filling quality makes epoxy the go-to choice when plates or brackets dont quite sit flush. Less enamored of permanence, some crafters reach for hot melt whenever flexibility and quick grab trump shear strength. The rubbery layer holds fusible parts in place and, if the assembly is prodded within minutes, sets fast enough to quench a deadline. A more industrial route involves solvent blends, particularly those laced with dichloromethane; the liquid lightly scours the edges and chemically stitches them so completely you later doubt the seam ever existed. Such aromas come with cautionary stickers, though, because the fumes bite and the liquid burns skin. Ultimately, the best pairing epoxy, cyano, or solvent will depend on the joint geometry, the handling climate, and how much abuse the finished object must survive.
How to Choose the Best Glue for Your PLA Parts?
Choosing the right glue for PLA print-outs is less about guesswork and more about matching the material to the conditions it faces. Start by asking how much pull, twist, or bump the bond will take; for joints that see serious strain, two-part epoxy or good old cyanoacrylate what most people call superglue step in with their quick set times and rock-hard hold. Jump to surface prep before any application, however, because PLA sits at a low surface-energy plateau that leaves many adhesives sliding off unless you roughen the plastic slightly or swipe on a dedicated primer.
Next, dial in on the environment: high heat, soaking humidity, or splashy chemicals can undermine even the toughest bond if the chosen adhesive lacks the right protective seal. Read the packaging closely; numbers for shear strength, operating range, and moisture resistance tell you whether a product really lives up to a manufacturers claim. In niche, visibility-conscious setups a clear, solvent-based cement can nearly vanish once cured, though it demands open windows and gloves until the fumes clear. Tackling all these questions methodically turns what could be a brittle, short-lived patch into a dependable joint that endures the tests you throw at it.
How to Glue Two PLA Parts Together?
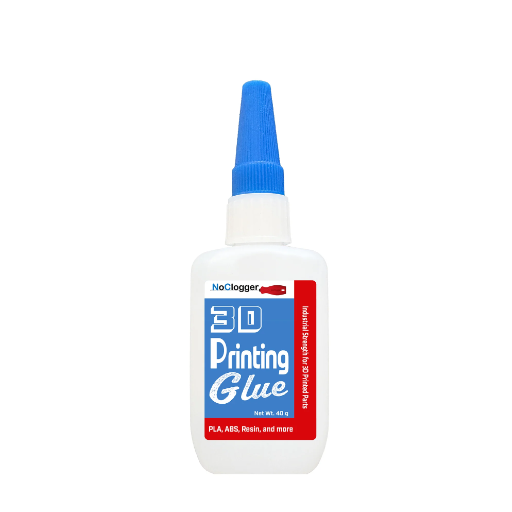
- Choose the Right Adhesive: Selecting the proper adhesive is essential for reliable bonding of PLA prints. Cyanoacrylate-acid glue generally ranks as the go-to option; its rapid set time and stout grip suit the demand for quick repairs. For projects that anticipate greater mechanical stress or environmental exposure, a two-part epoxy offers superior toughness and long-term durability, albeit with a longer working window.
- Prepare the Surfaces: Surface cleanliness directly influences bond strength, so each joining face should be wiped free of oils, dust, or moisture before assembly. A gentle pass with fine-grit sandpaper abrades the plastic and yields extra micro-keys that hold glue in place once the initial squeeze wears off.
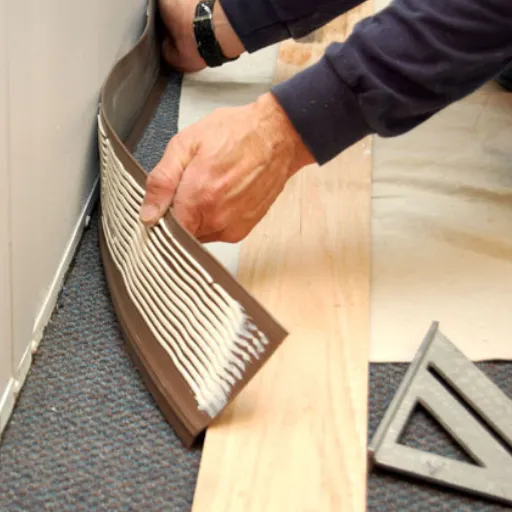
- Apply the Glue: Transfer a single drop or bead of adhesive to one surface; too much glue squishes outward and weakens the joint. Many experts recommend working with the minimum amount that still covers the bonded area.
- Align and Hold the Parts: Position the parts quickly, since most fast-curing glues begin to set within seconds. Hold the assembly steady for the duration specified on the product label; uneven pressure can introduce gaps.
- Allow Sufficient Curing Time: Cyanoacrylate bonds reach handling strength almost immediately but should be left undisturbed for a few minutes; full bond development may still take hours. Epoxies require longer cure times, typically several hours, and temperature will impact their final strength.
By following these guidelines, fabricators can produce durable, nearly invisible bonds between PLA components.
What Tools Do You Need for Gluing PLA?
- Adhesive Options:
- Epoxy resin adhesive remains the gold standard for applications where a genuinely load-bearing bond is non-negotiable. The two-part mix cures to a thick, rock-like finish that shrugs off moisture and temperature swings alike.
- A handful of makers now peddle glues engineered specifically for polylactic acid, and those formulations stick to PLA far better than general-purpose options.
- When the project calls for plastic rather than wood or metal, PLA-specific products are worth the extra few dollars.
- Clamps:
- Clamps rugged steel bar clamps or simple spring clips prevent the components from slipping while the bond cures. Alignment errors at this stage can ruin an otherwise flawless joint, so hold everything tight.
- Fine Sandpaper:
- A quick pass with 200-400 grit sandpaper scours off the plastic sheen and gives the resin something to latch onto. The extra dust takes only a second to blow away, but the added grip is permanent.
- Applicators:
- For tricky nooks, a fine-tip glue bottle or a paintbrush permits surgical application. Overspreading is easy to regret once the adhesive begins to set.
- Isopropyl Alcohol:
- Isopropyl alcohol on a lint-free cloth wipes off fingerprints and static dust. If grease or spray residue is left behind, even the strongest glue will fail.
- Protective Gear:
- Gloves and safety goggles are sensible precautions, since cured epoxy rarely comes off skin without vigorous scrubbing.
When every step is observed, the completed bond will outlast the part itself.
How to Prepare PLA Surfaces for Adhesion?
Good adhesion on a PLA component begins with careful surface prep. A light rub with 200-400 grit sandpaper creates micro-scoring that grips adhesive much like Velcro. Even sanding matters; missed patches can leave weak spots in the bond, and every corner needs the same treatment. Once that is done, a wipe with 90 percent isopropyl alcohol removes dust, fingerprints, or stray oils that would otherwise sit between the glue and the plastic.
Some practitioners reach for a dedicated primer designed for PLA. The right primer fills tiny surface irregularities and gives the adhesive a stronger anchor. Environmental conditions matter, too: elevated humidity can soften certain glues, so a dehumidifier maintains a consistent, low-moisture setting. Keeping the workshop temperature stable offers the final piece of insurance for a reliable bond.
Can You Use Super Glue on PLA Part?
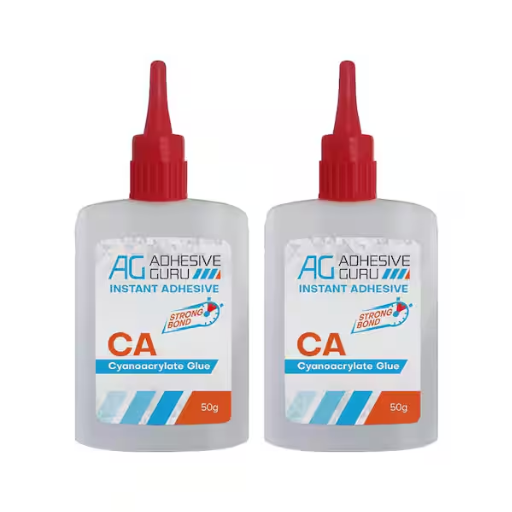
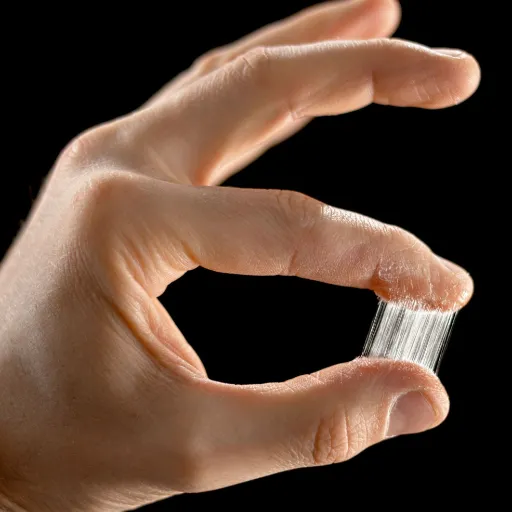
Super glue is an everyday brand name for cyanoacrylate adhesive, which works surprisingly well on PLA plastic, often outperforming specialty 3D-printing glues. A thin layer of the fast-setting liquid penetrates the print’s microscopic texture and forms a rigid bond almost before you can wipe your fingers. Dust, grease, and leftover filament residue act like release agents, so a quick scrub with isopropyl alcohol pays big dividends. For an even tougher joint, a light clamp through the first few minutes holds the parts flush and lets the bond reach its full strength.
Why Choose Super Glue for PLA 3D Prints?
Cyanoacrylate glue, commonly known as super glue, bonds to PLA 3D prints almost on contact because the adhesive responds to moisture in the plastic. That rapid reaction forms a surprisingly tough molecular join, and the bond holds even when the print has been lightly sanded or filed. The adhesive flows easily into cracks and seams, so it can mend a shattered model, couple separate pieces, or strengthen a delicate overhang without fuss. As a bonus, the glue skins over within seconds, letting designers move on to the next step instead of watching glue dry. Its low cost and availability at corner drug stores or hobby shops seal the case, especially where prototypes must be rebuilt almost on deadline. Studies confirm that slight abrasion plus the glue yields far stronger repairs than either technique alone.
Best Practices for Using Super Glue on PLA
- Clean and Prepare the Surfaces: Dust, fingerprints, and oils block any adhesive, so wipe the joining edges with a lint-free cloth moistened in isopropyl alcohol. The solvent evaporates quickly, leaves no film, and preserves the geometry of the PLA.
- Rough Up the Bonding Surfaces: Lightly sand the joining faces to break their gloss and turn them slightly gritty. Finer sandpapers in the 120-to-200 range add enough texture while leaving minimal fiber that would weaken the joint.
- Spread the Adhesive in a Fine Film: A pin-dot of cyanoacrylate usually suffices; an even, nearly transparent coating covers only one side. Any puddle that squeezes out afterwards risks slowing cure time and marring the outside finish.
- Mate the Components with Steady Pressure: Position the pieces without delay; cyanoacrylate sets within seconds. Hold them pressed together for half a minute so the initial grip takes hold before any movement occurs.
Pla and super glue bond quickly when handled this way, creating joints stiff enough to withstand repeated handling in most experimental contexts.
What is the Difference Between CA Glue and Other Adhesives?
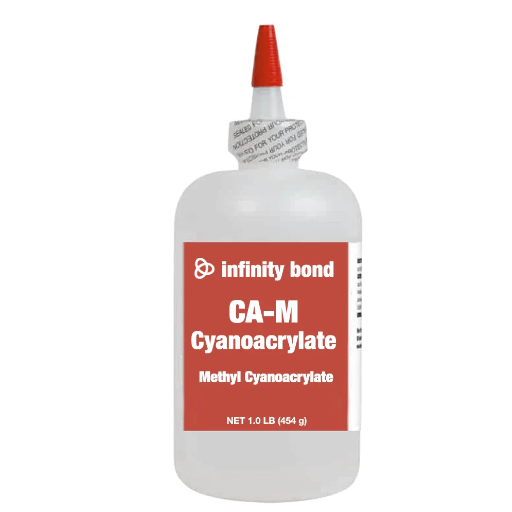
CA glue, also known as super glue, differs from the bulk of construction adhesives in how and when it hardens. Bonding occurs the instant the liquid encounters airborne humidity, shrinking into a solid film that spans gaps as wide as a few thousandths of an inch. That same quick fixation benefits electricians, jewellers, and modellers working under tight deadlines. While the formulation sticks well to PLA, metal, glass, and cured ceramics, it seldom tolerates continuous flexing; substrates subjected to repeated strain may crack the dried pellet. A two-part epoxy, in contrast, enjoys superior resilience and finishes with the low-shrink solidity of glass.
Understanding CA Glue and Its Uses in 3D Printing
CA glue-cyanoacrylate adhesive-has become almost indispensable in the end-of-print workshop. A bead set today can hold a part together before the next sip of coffee cools. Repairing a broken support arm or snapping two panels back together rarely eats more than a half-minute, so stalled printers start humming again in no time. Thin, fragile geometries mechanical valleys and bridges that bow under any other glue are almost easier with it, since the bond forms while the user blinks. Even modelers who curse fast-setting products concede that speed breeds opportunity.
Range matters, too. CA glue bites into ABS, leans into PLA, and accepts PETG as if the filament were begging for a bond. Shelf-stable composite blends-those hugging carbon, glass, or even shredded balsa-join readily once the powdery texture has been tamed. The catch, as always, is surface prep; oils, fingerprints, or the fine dust from a Dremel wheel can end the relationship before it begins.
CA glue cures rapidly and forms a hard, transparent bond, yet users should not overlook the fact that its grip can falter when temperatures linger above roughly 80°C. In situations where a part needs to bend or vibrate continuously, the brittle layer that CA creates simply will not hold. Polyurethane adhesives and specialty high-temperature epoxies step in where cyanoacrylate falls short, delivering both flexibility and thermal stability. Familiarity with these strengths and weaknesses helps designers choose the right formulation for each individual 3D-printing assembly.
What Are the Benefits of CA Glue for PLA?
- Strong Bonding
Cyanoacrylate instant glue forms an exceptionally strong bond that holds under load for structural PLA assemblies. The chemistry of the adhesive pulls on a molecular level and locks the plastic faces together almost as soon as the solvent flashes off.
- Fast Drying Time
The product’s defining feature is perhaps its quick setting. Cures can be felt in five heartbeats, and longer versions stretch to a full minute, but by then, the parts are already one piece.
- Ease of Use
Comparison with other methods almost always focuses on ease; a squeeze of the bottle lets a pinpoint nozzle lay down the liquid right where it belongs. Mess is confined to the bead you just made, leaving adjacent surfaces clean without a guard.
- Low Temperature Activation
Welders and heat lamps blaze at temperatures capable of warping slender fillets, yet CA glue works at room temperature and never asks for added heat. That heat-neutral attitude spares fragile details from melting away.
- Versatile Application
Texture may differ from batch to batch-smooth cast, lightly sanded, even the casual grain of filament left uncalibrated. The bond still takes hold because the cyanoacrylate seeps into every nook and ridge, forming a grip that survives sanding passes. Wood cores, bits of foam, and short lengths of rubber tubing join in the same step, widening the tool’s reach beyond pure thermoplastic work.
All of this arrives at one simple takeaway: less waiting, less equipment, greater tolerance for detail, and no need to blow a budget on specialty adhesives. For many makers, that combination justifies a spot for CA glue on the same shelf where they keep filament.
Are There Alternatives to Gorilla Glue for PLA?
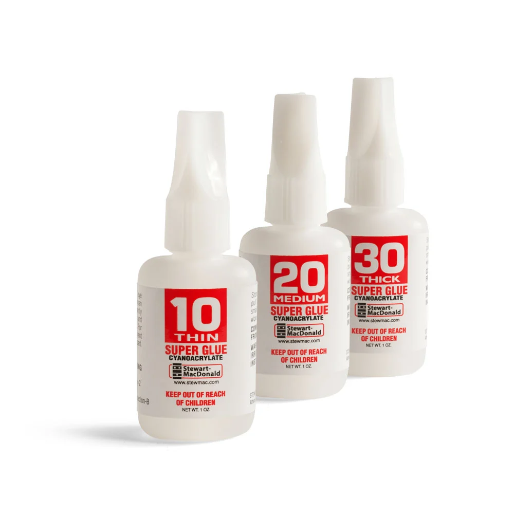
Many researchers and hobbyists have found reliable substitutes for Gorilla Glue when bonding PLA plastic. One frequently cited choice is cyanoacrylate, or CA glue; its quick grab and near-instant set are assets for small fixes or last-minute assemblies. Two-part epoxy resin deserves mention as well; its sheer tensile strength makes it the standard for components that must endure repeated stress. Polyurethane adhesive leans toward projects exposed to moisture or humidity, delivering a flexible bond that can absorb shock over time. As always, the ultimate pick hinges on the specific demands of the task-strength, climate, and ease of application.
Comparing Gorilla Glue with Other Adhesives
|
Feature/Parameter |
Gorilla Glue |
Epoxy Adhesives |
Super Glue (Cyanoacrylate) |
Polyurethane Adhesives |
|---|---|---|---|---|
|
Strength |
High |
Very High |
Moderate to High |
High |
|
Bonding Time |
Moderate (1-2 hours) |
Slow (up to 24 hours to cure) |
Fast (10-30 seconds) |
Moderate (30 minutes to few hours) |
|
Material Compatibility |
Wood, Metal, Ceramic, Plastic, More |
Most materials, especially metals |
Best for non-porous materials |
Versatile, good on uneven surfaces |
|
Moisture Resistance |
Excellent |
Excellent |
Low |
Excellent |
|
Temperature Tolerance |
Good (-40° to 200°F) |
Excellent (up to 500°F for specialized) |
Low |
Good (varies by product) |
|
Flexibility After Curing |
Rigid |
Brittle |
Brittle |
Flexible |
|
Gap-Filling Ability |
Great |
Excellent |
Poor |
Excellent |
|
Durability |
High |
Very High |
Moderate |
High |
|
Ease of Use |
Easy, requires clamping |
Requires precise mixing |
Very easy |
Moderate |
|
Applications |
Indoor, Outdoor, Repairs, Construction |
Heavy-duty, industrial, load-bearing |
Quick fixes, minor repairs |
Outdoor, construction |
|
Cost |
Moderate |
Moderate to High |
Low |
Moderate |
What Other Strong Adhesives Can Be Used for PLA?
Polylactic acid, or PLA, behaves differently than the tougher thermoplastics most engineers are used to. Because of that, choosing a strong adhesive demands a bit of extra thought. Two-part epoxy remains a go-to solution; it cures hard, handles remarkable tensile loads, and still bonds well to metals and wood. For hobbyists in a hurry, cyanoacrylate, that’s the instant-grab super glue you keep in the kitchen, drops into smaller, detail-oriented repairs without fuss. A more chemical tack involves solvent cements such as acetone or dichloromethane, which temporarily melt the plastic and weld the parts together in a matter of seconds.
Flexibility and heat endurance steer some designers toward specialized polyurethane glues, because they absorb shock yet hold tight when the temperature swings. No adhesive is universally flawless; humidity, mechanical strain, and specific application contexts all play a role in real-world performance. Running a test bond on scrap PLA before committing to a production run is still the safest way to catch surprises early.
Reference Sources
-
Impact of 3D-Printed PLA Coatings on Magnesium Alloys: PLA coatings enhanced the mechanical properties of AM60 magnesium alloys. Adhesion strength was significantly higher with epoxy glue (4.29 MPa) compared to polyvinyl pyrrolidone adhesive (0.3 MPa).
-
Adhesion Strength of 3D Printed PLA on Knitted Fabrics: Adhesion strength was influenced by fabric structure and 3D printing parameters. High nozzle temperature, low printing speed, and thin layers improved adhesion.
-
Structural Integrity of Adhesively Bonded 3D-Printed Joints: Adhesive thickness and printing parameters significantly affected joint strength. Cohesive failure was the dominant failure mode, with thinner adhesive layers (0.2 mm) providing optimal strength.
Frequently Asked Questions (FAQs)
Q: What’s the best glue for PLA 3D prints?
A: The best glue for PLA 3D prints is often superglue or cyanoacrylate, as it provides a strong bond and sets quickly. For larger pieces, you might consider using acrylic cement or model cement for better results.
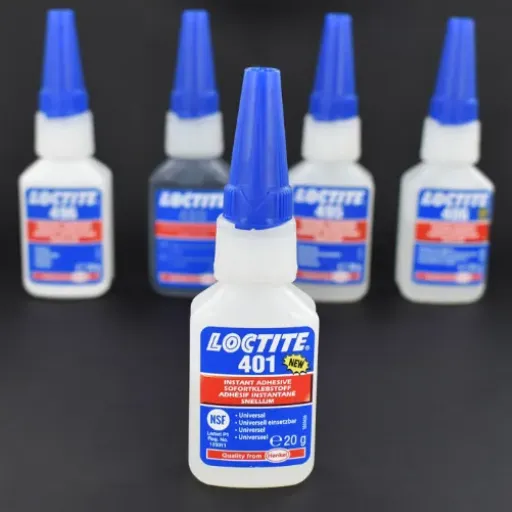
Q: Can I use Loctite for gluing PLA together?
A: Yes, Loctite superglue is a great option for gluing PLA together. Loctite 401 is particularly effective for bonding plastic materials together.
Q: How do I apply the adhesive on PLA prints?
A: To apply the adhesive, ensure the surfaces are clean and dry, then use a small amount of superglue gel or acrylic cement to bond the pieces of PLA. Be careful not to use too much, as it can create a messy finish.
Q: What should I consider when gluing plastics like PLA?
A: When gluing plastics like PLA, consider the surface energy of the materials, the type of adhesive, and the application method. Ensure the area is well ventilated and follow the manufacturer’s instructions for the best results.
Q: Can I use plastic cement for PLA prints?
A: Plastic cement may not be the best choice for PLA, as it is designed for other types of plastics. Instead, opt for superglue or acrylic cement for effective bonding.
Q: How long does super glue take to set on PLA?
A: Super glue typically sets quickly, often within a few seconds to a minute, depending on the type and environmental conditions. Using a glue with an activator can enhance the setting time.
Q: Is Gorilla super glue good for PLA prints?
A: Yes, Gorilla super glue is an excellent choice for PLA prints due to its strong bonding capabilities and quick setting time, making it ideal for assembling and repairing 3D prints.
Q: Can I use friction welding to bond PLA parts?
A: Yes, friction welding is a method that can be used to bond PLA parts together. This technique involves melting the plastic at the joint through friction, creating a strong bond.
Q: What is the shelf life of adhesives used for PLA?
A: The shelf life of adhesives like superglue and acrylic cement can vary, but they generally last about 6 months to a year if stored properly in a cool, dry place. Always check the manufacturer’s guidelines for specific information.
Q: How do I ensure the best results when gluing PLA parts?
A: To ensure the best results when gluing PLA parts, clean the surfaces thoroughly, choose the right adhesive such as super glue or acrylic cement, and apply it in a well-ventilated area. Follow the instructions for curing times and pressure application for optimal bonding.


